
Inside a personal Makeup Lesson in Paris | by Paris Makeup & Hair Artist Onorina Jomir
Photography: Gloria Villa Photography | Makeup Instructor: Onorina Jomir
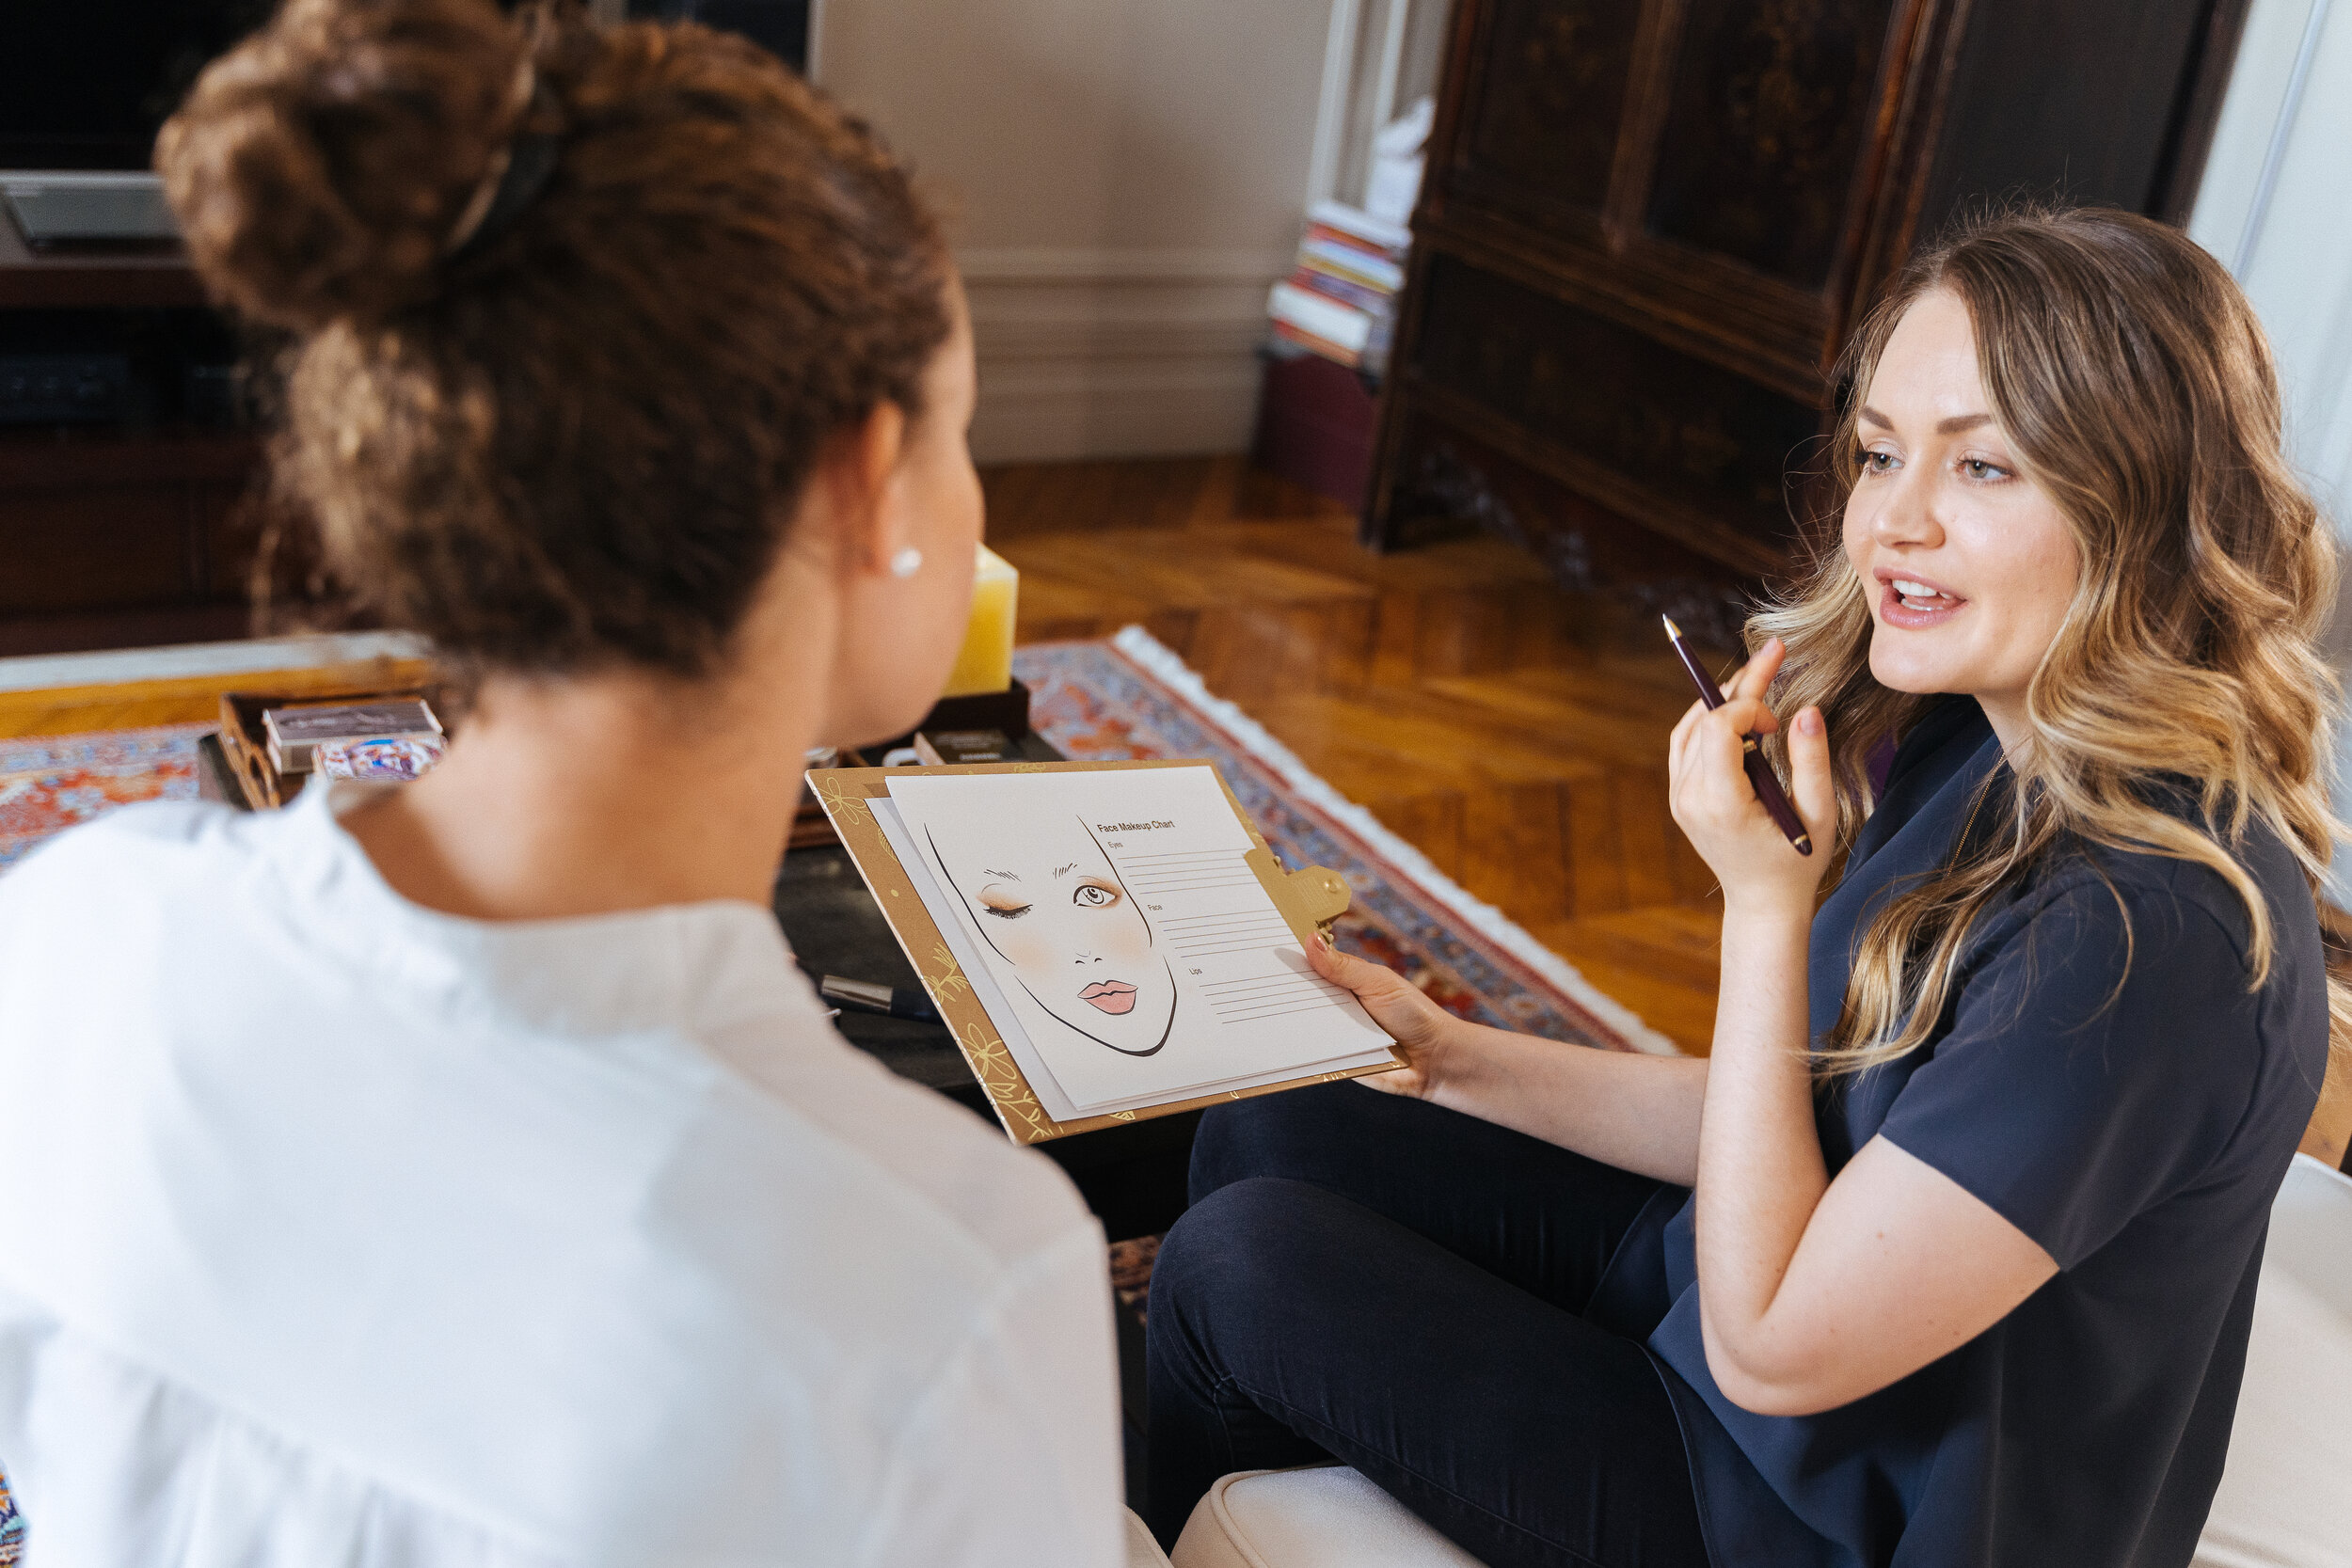
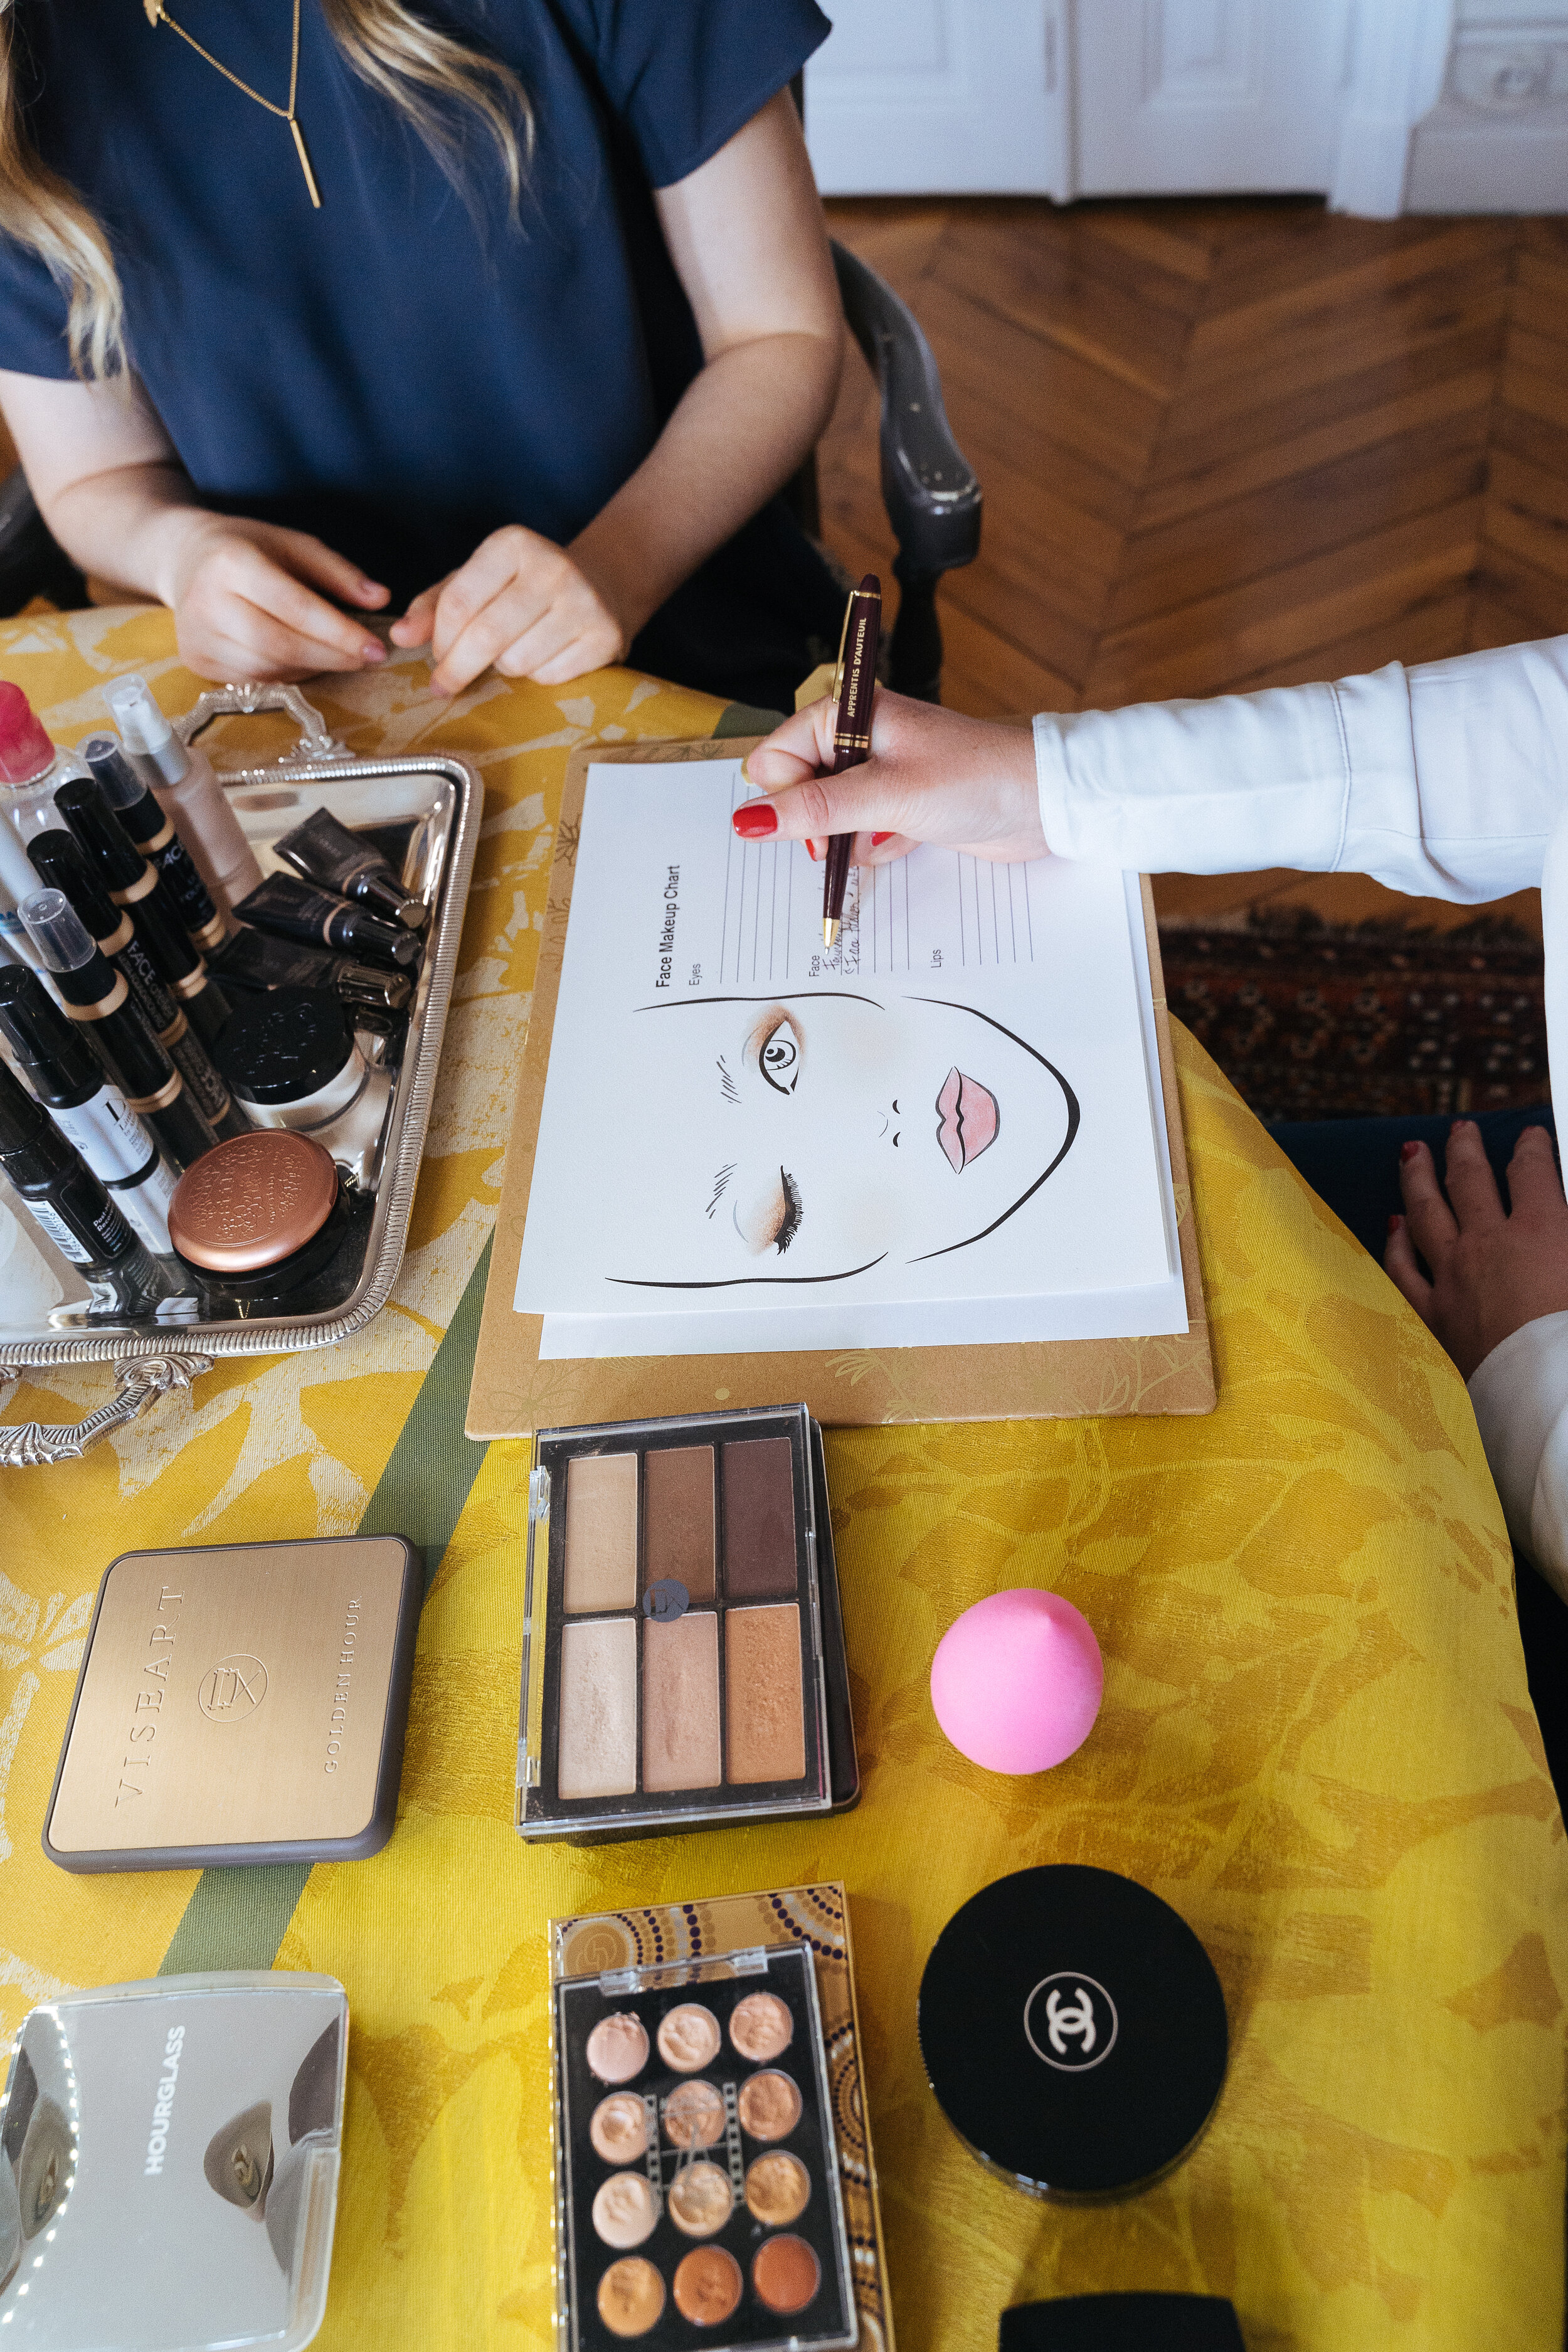
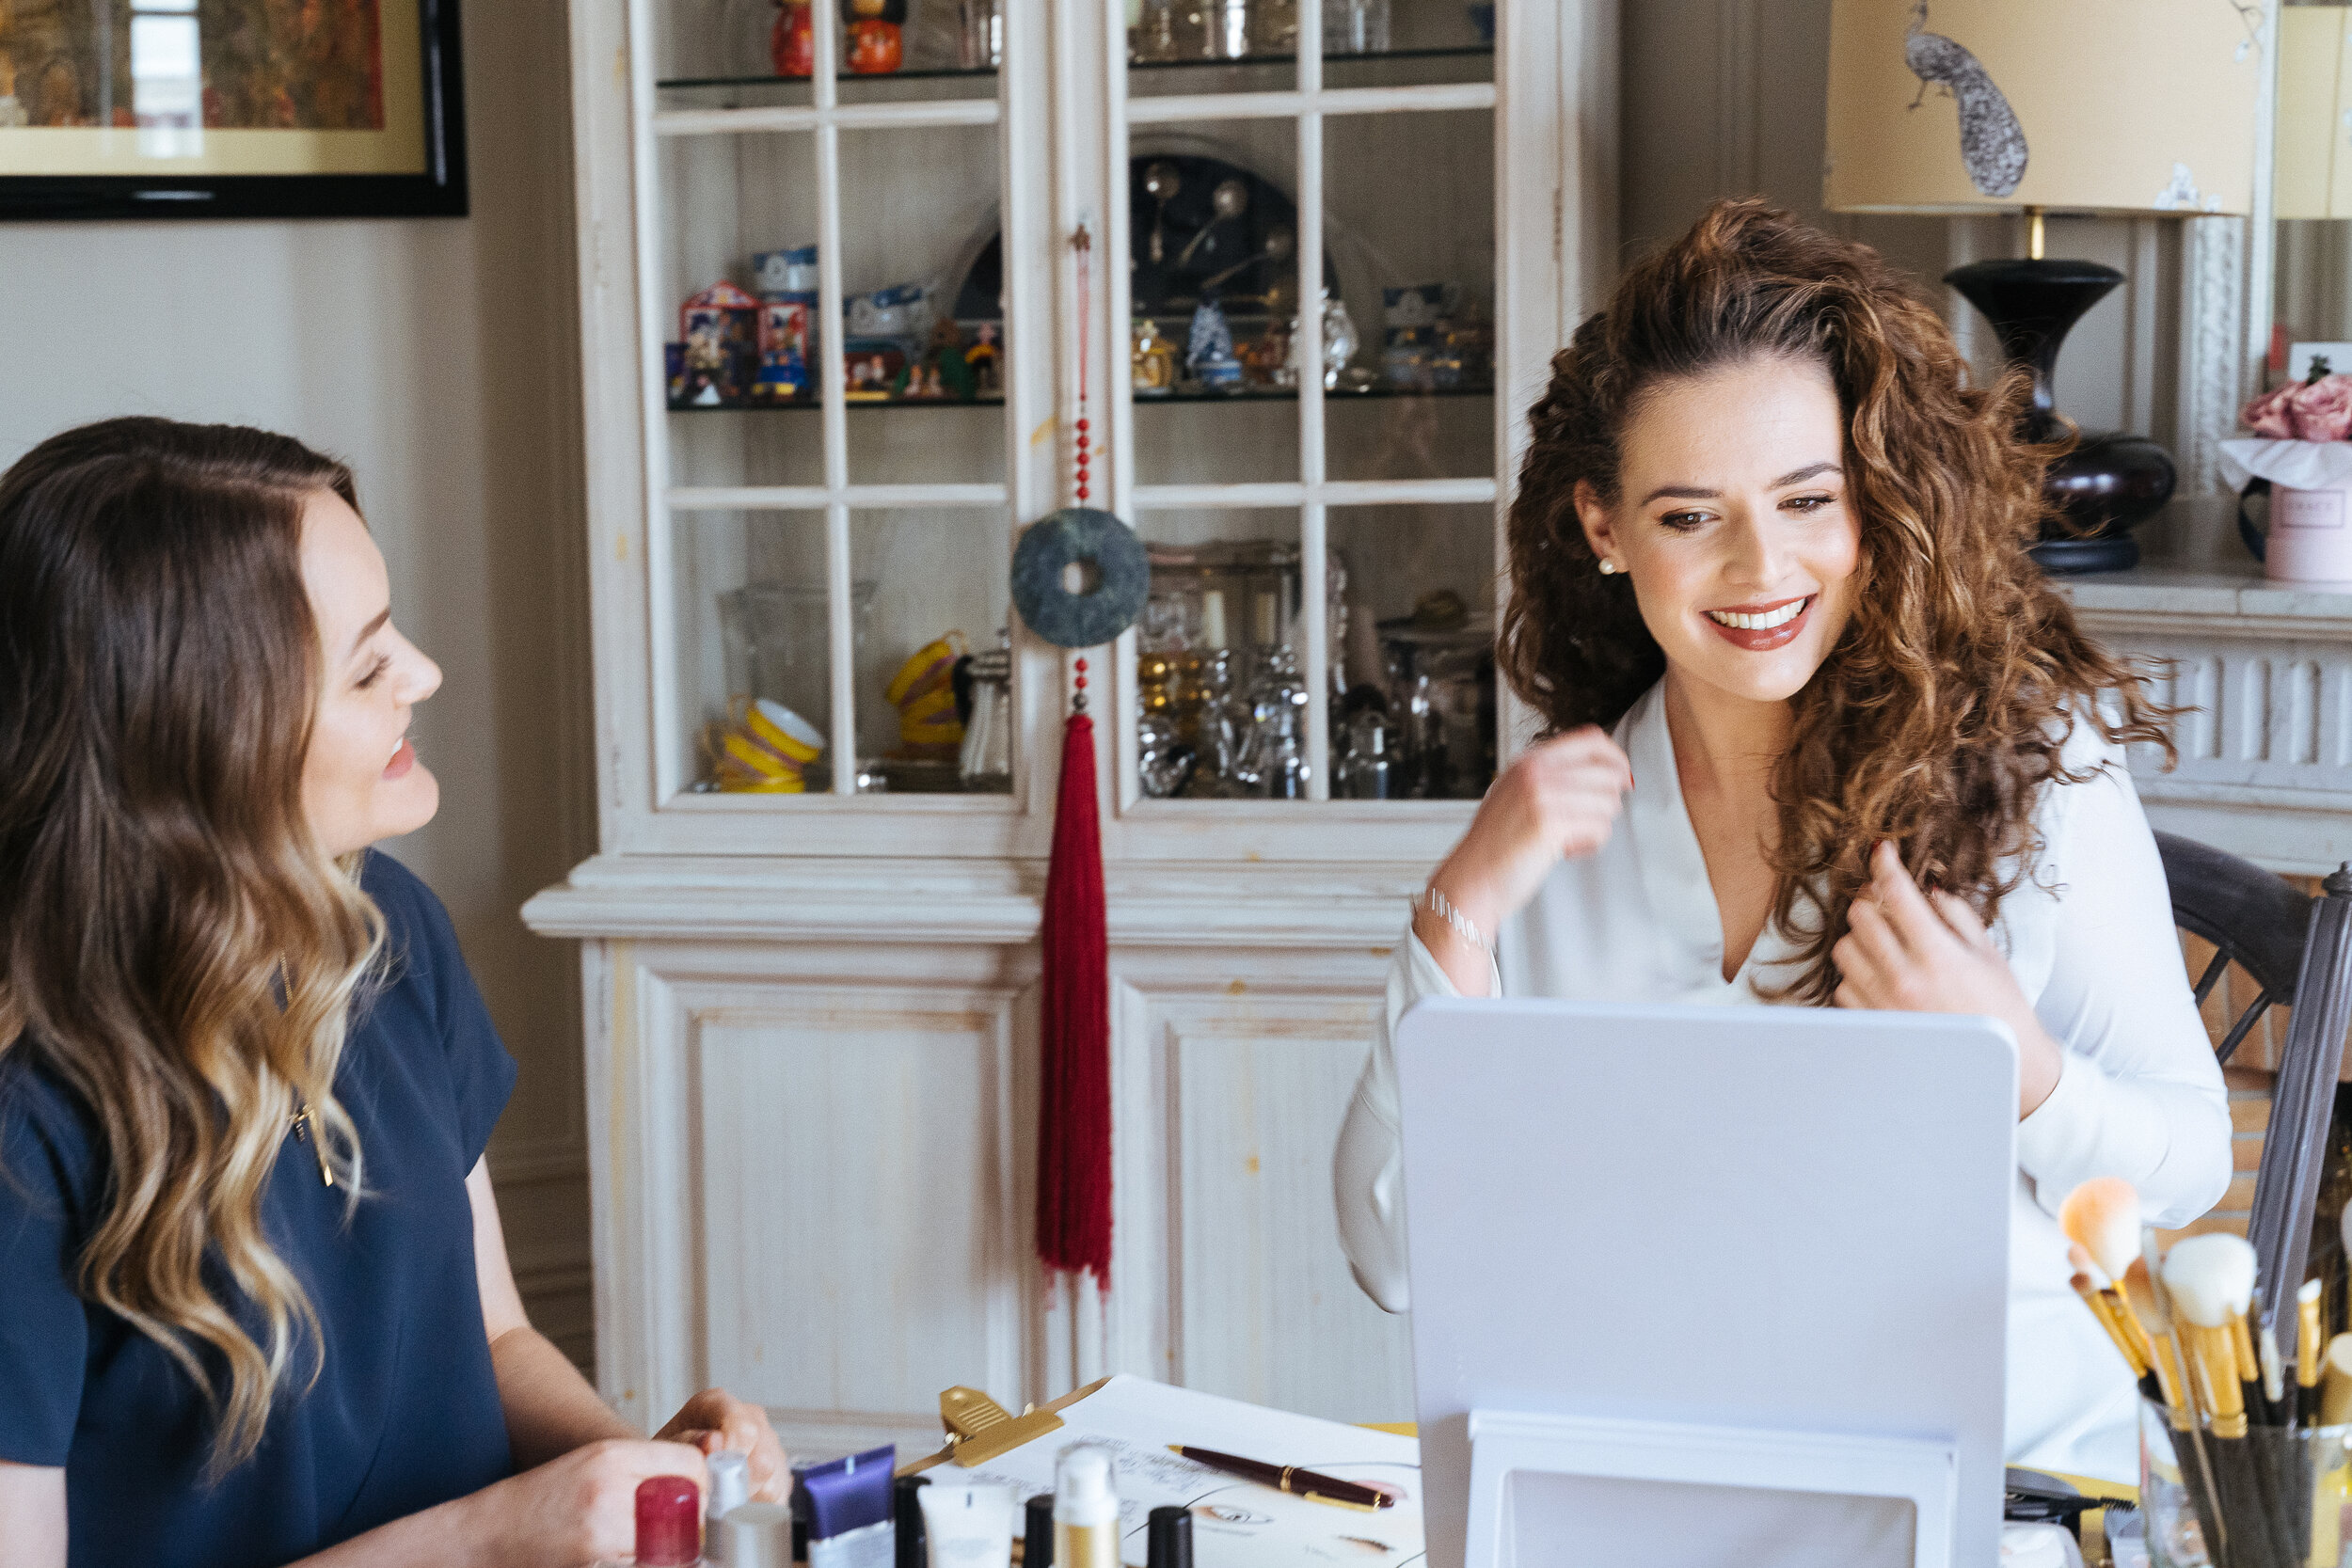
Paris Makeup Workshop: Going over my client’s makeup lesson plan and teaching her how to take notes on a face chart. Photo Courtesy of Gloria Villa Photography
As we grow older, our beauty routine evolves.
Whether it be from shifting careers, a change in our skin, or evolving trends, our makeup and the products we use may no longer serve us. Instead of trying to keep up and attempting to figure it out all on your own, save yourself the time, money and havoc on your skin by investing in a personalized, 1-on-1 Makeup Lesson with a seasoned beauty professional.
I’ve taught women of all ages how to perfect and improve their makeup application and routine. It is such a tremendous relief to finally figure out what works best for your skin and features. This will not only give you a major boost of self-confidence in your new skills and product knowledge, but it will also save you lots of stress next time you do your makeup, whether you have only 5 minutes, or a full hour!
My Paris Makeup Lesson Client, Julie

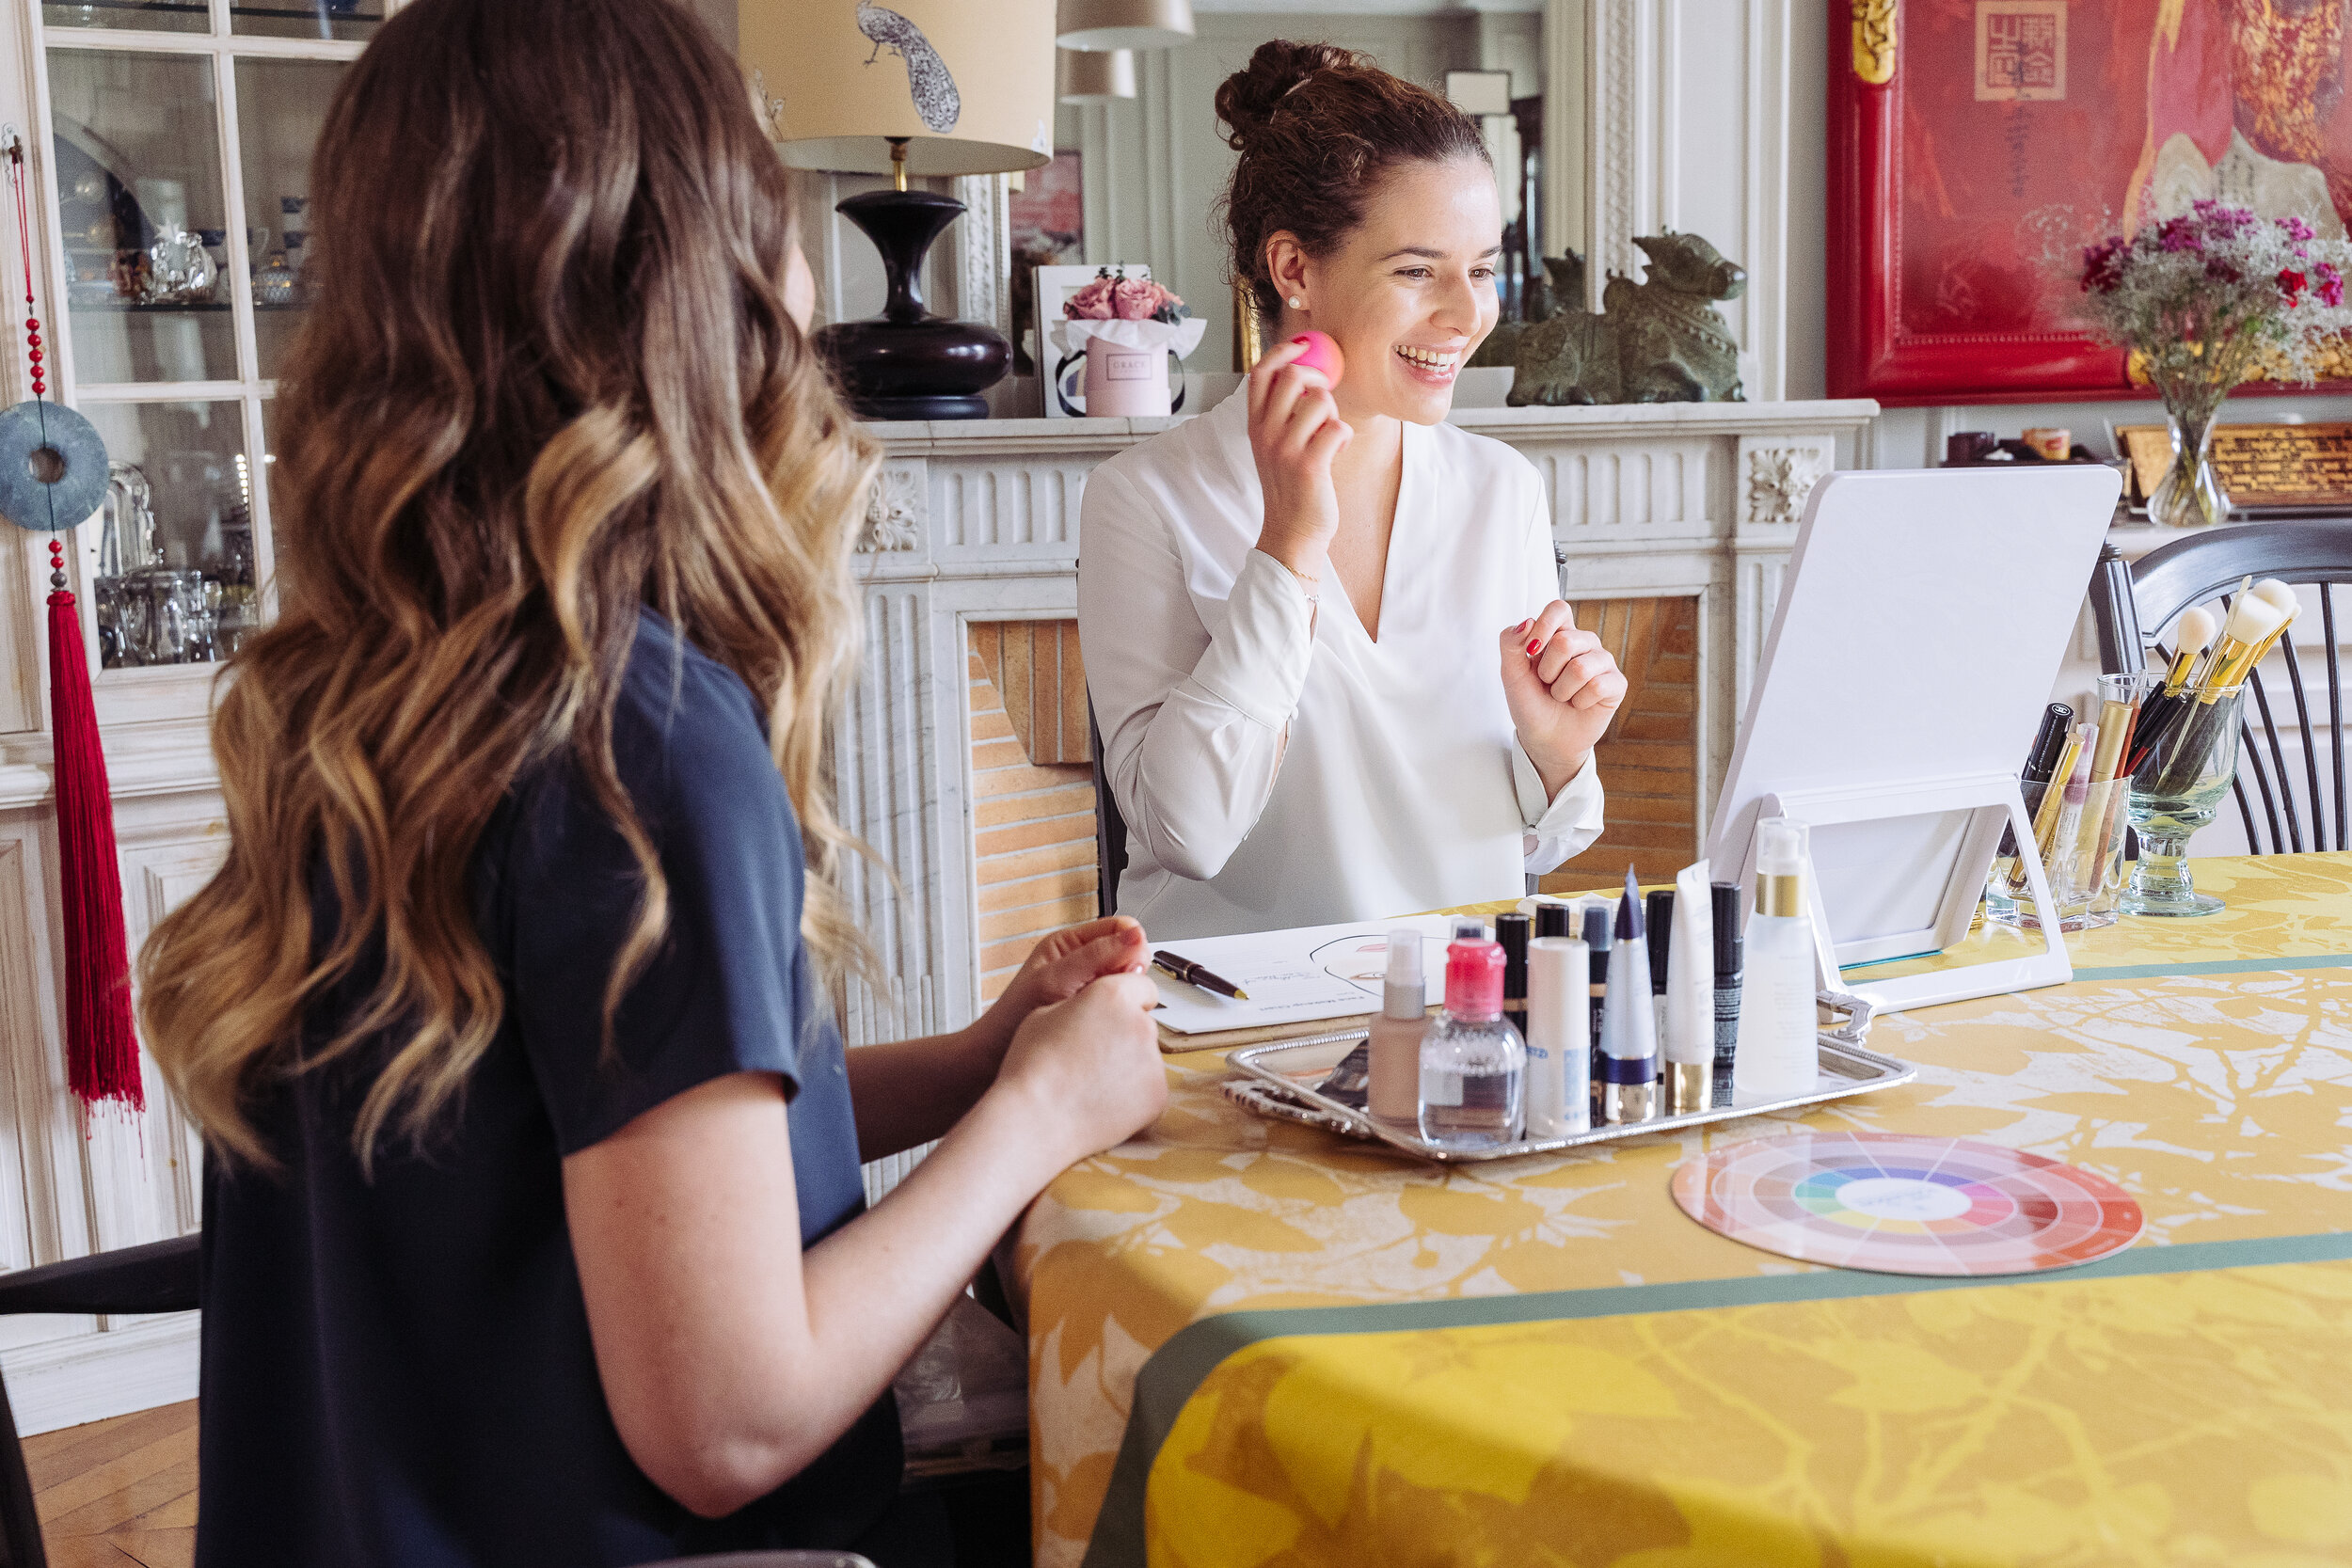
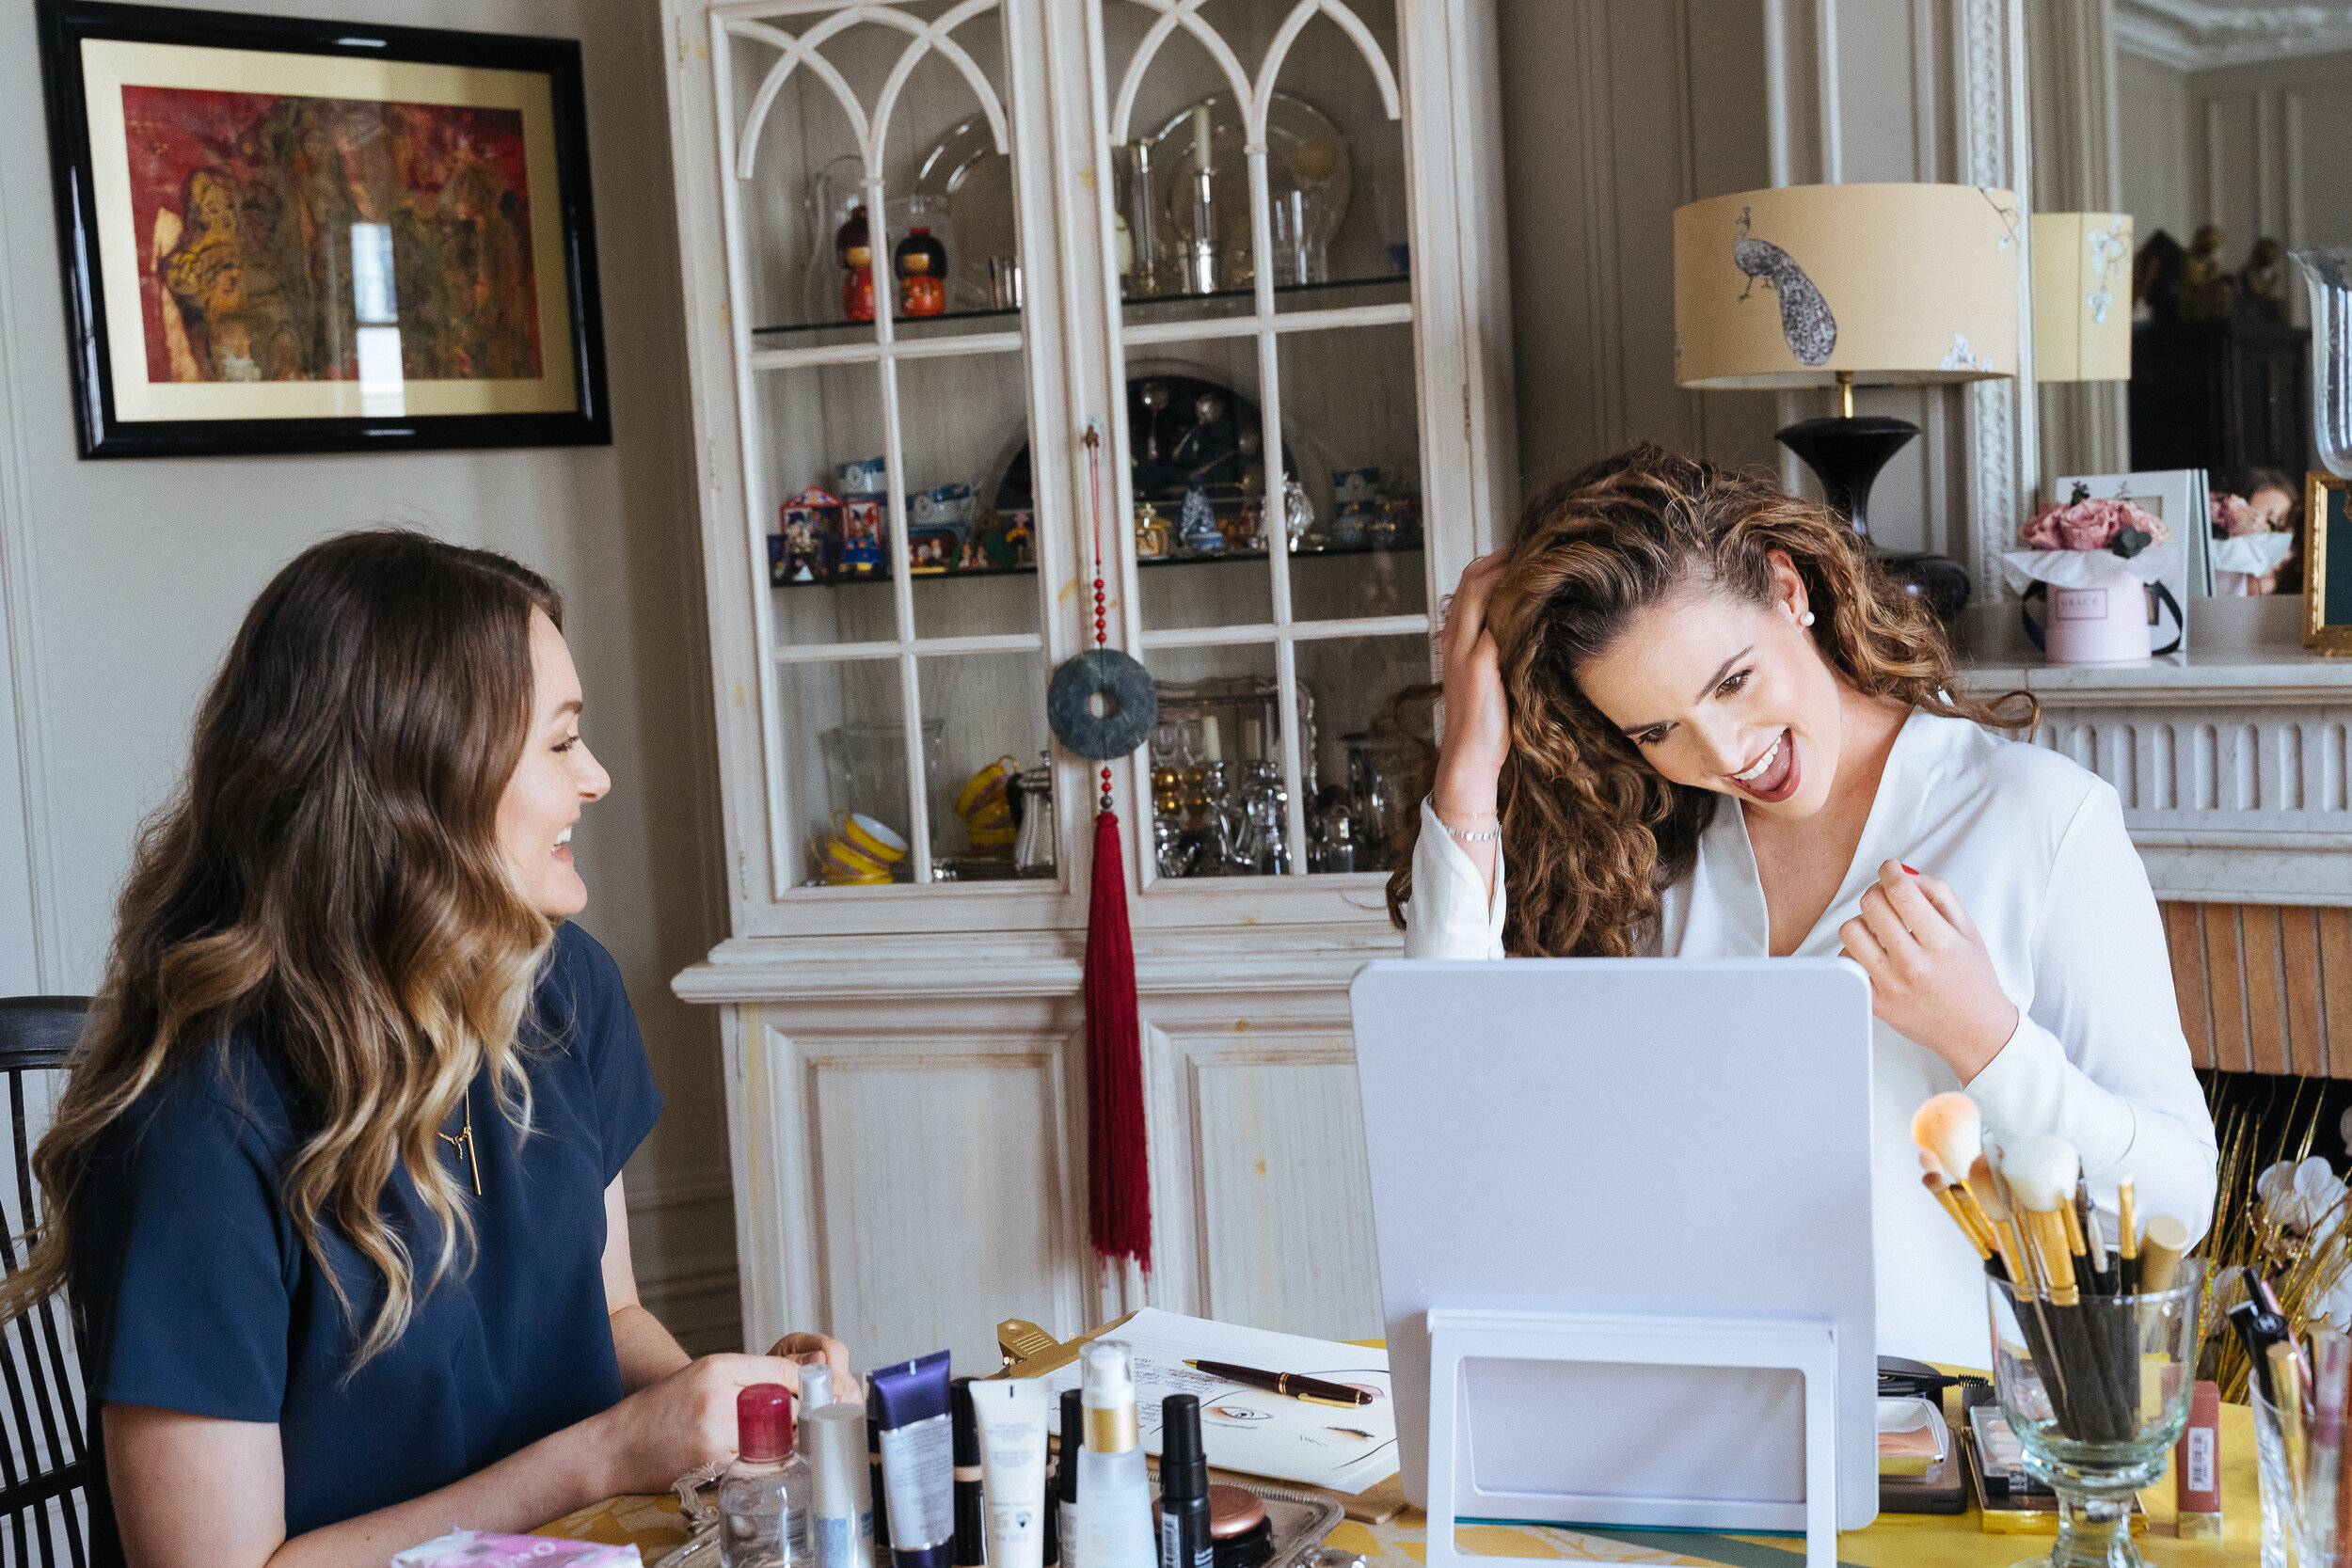
Paris Makeup Lesson: My client, Julie, showing me her beginner makeup bag. Photo courtesy of Gloria Villa Photography
Julie is a Paris native who has been following my work for years.
She learned about my Paris Makeup Lessons through my Instagram, and reached out to me about doing a Paris Makeup Workshop lesson. She was a true beginner: her makeup bag held just a few the basics - a cream compact foundation, full-coverage powder, blush, mascara, and a single powder/blush brush.
Before her 1-on-1 makeup lesson, I sat down with Julie to determine what her makeup goals were, explore what products she was familiar with, and dive deeper into her current skincare routine. After about 30 minutes, we determined her skin type and desired look, and came up with clear goals for our time together. This allowed me to customize a lesson plan for her 1-on-1 makeup class and decide which products to introduce her to from my professional skincare + makeup collection.
Julie’s Features + Skin Type
Julie has an oval face with prominent cheekbones, large round eyes, and full lips. Her brows are medium-thick with an angled arch. Her skin type is combination and sensitive - oily in warmer months, dry in colder months. Her complexion is a light-medium beige - a bit tan, with a neutral undertone.
As a professional makeup artist in Paris, where just about every major beauty brand has its own boutique, I’ve tested hundreds of products and brands, so I know EXACTLY what works and how to make the best choices for every skin type and complexion.
TIP: If you live in, or traveling to Paris, pair your makeup lesson with a beauty shopping spree! Before your lesson, we’ll hit the Paris streets to select the perfect products for your individual needs. Learn more here.InstagramParis Makeup Workshop
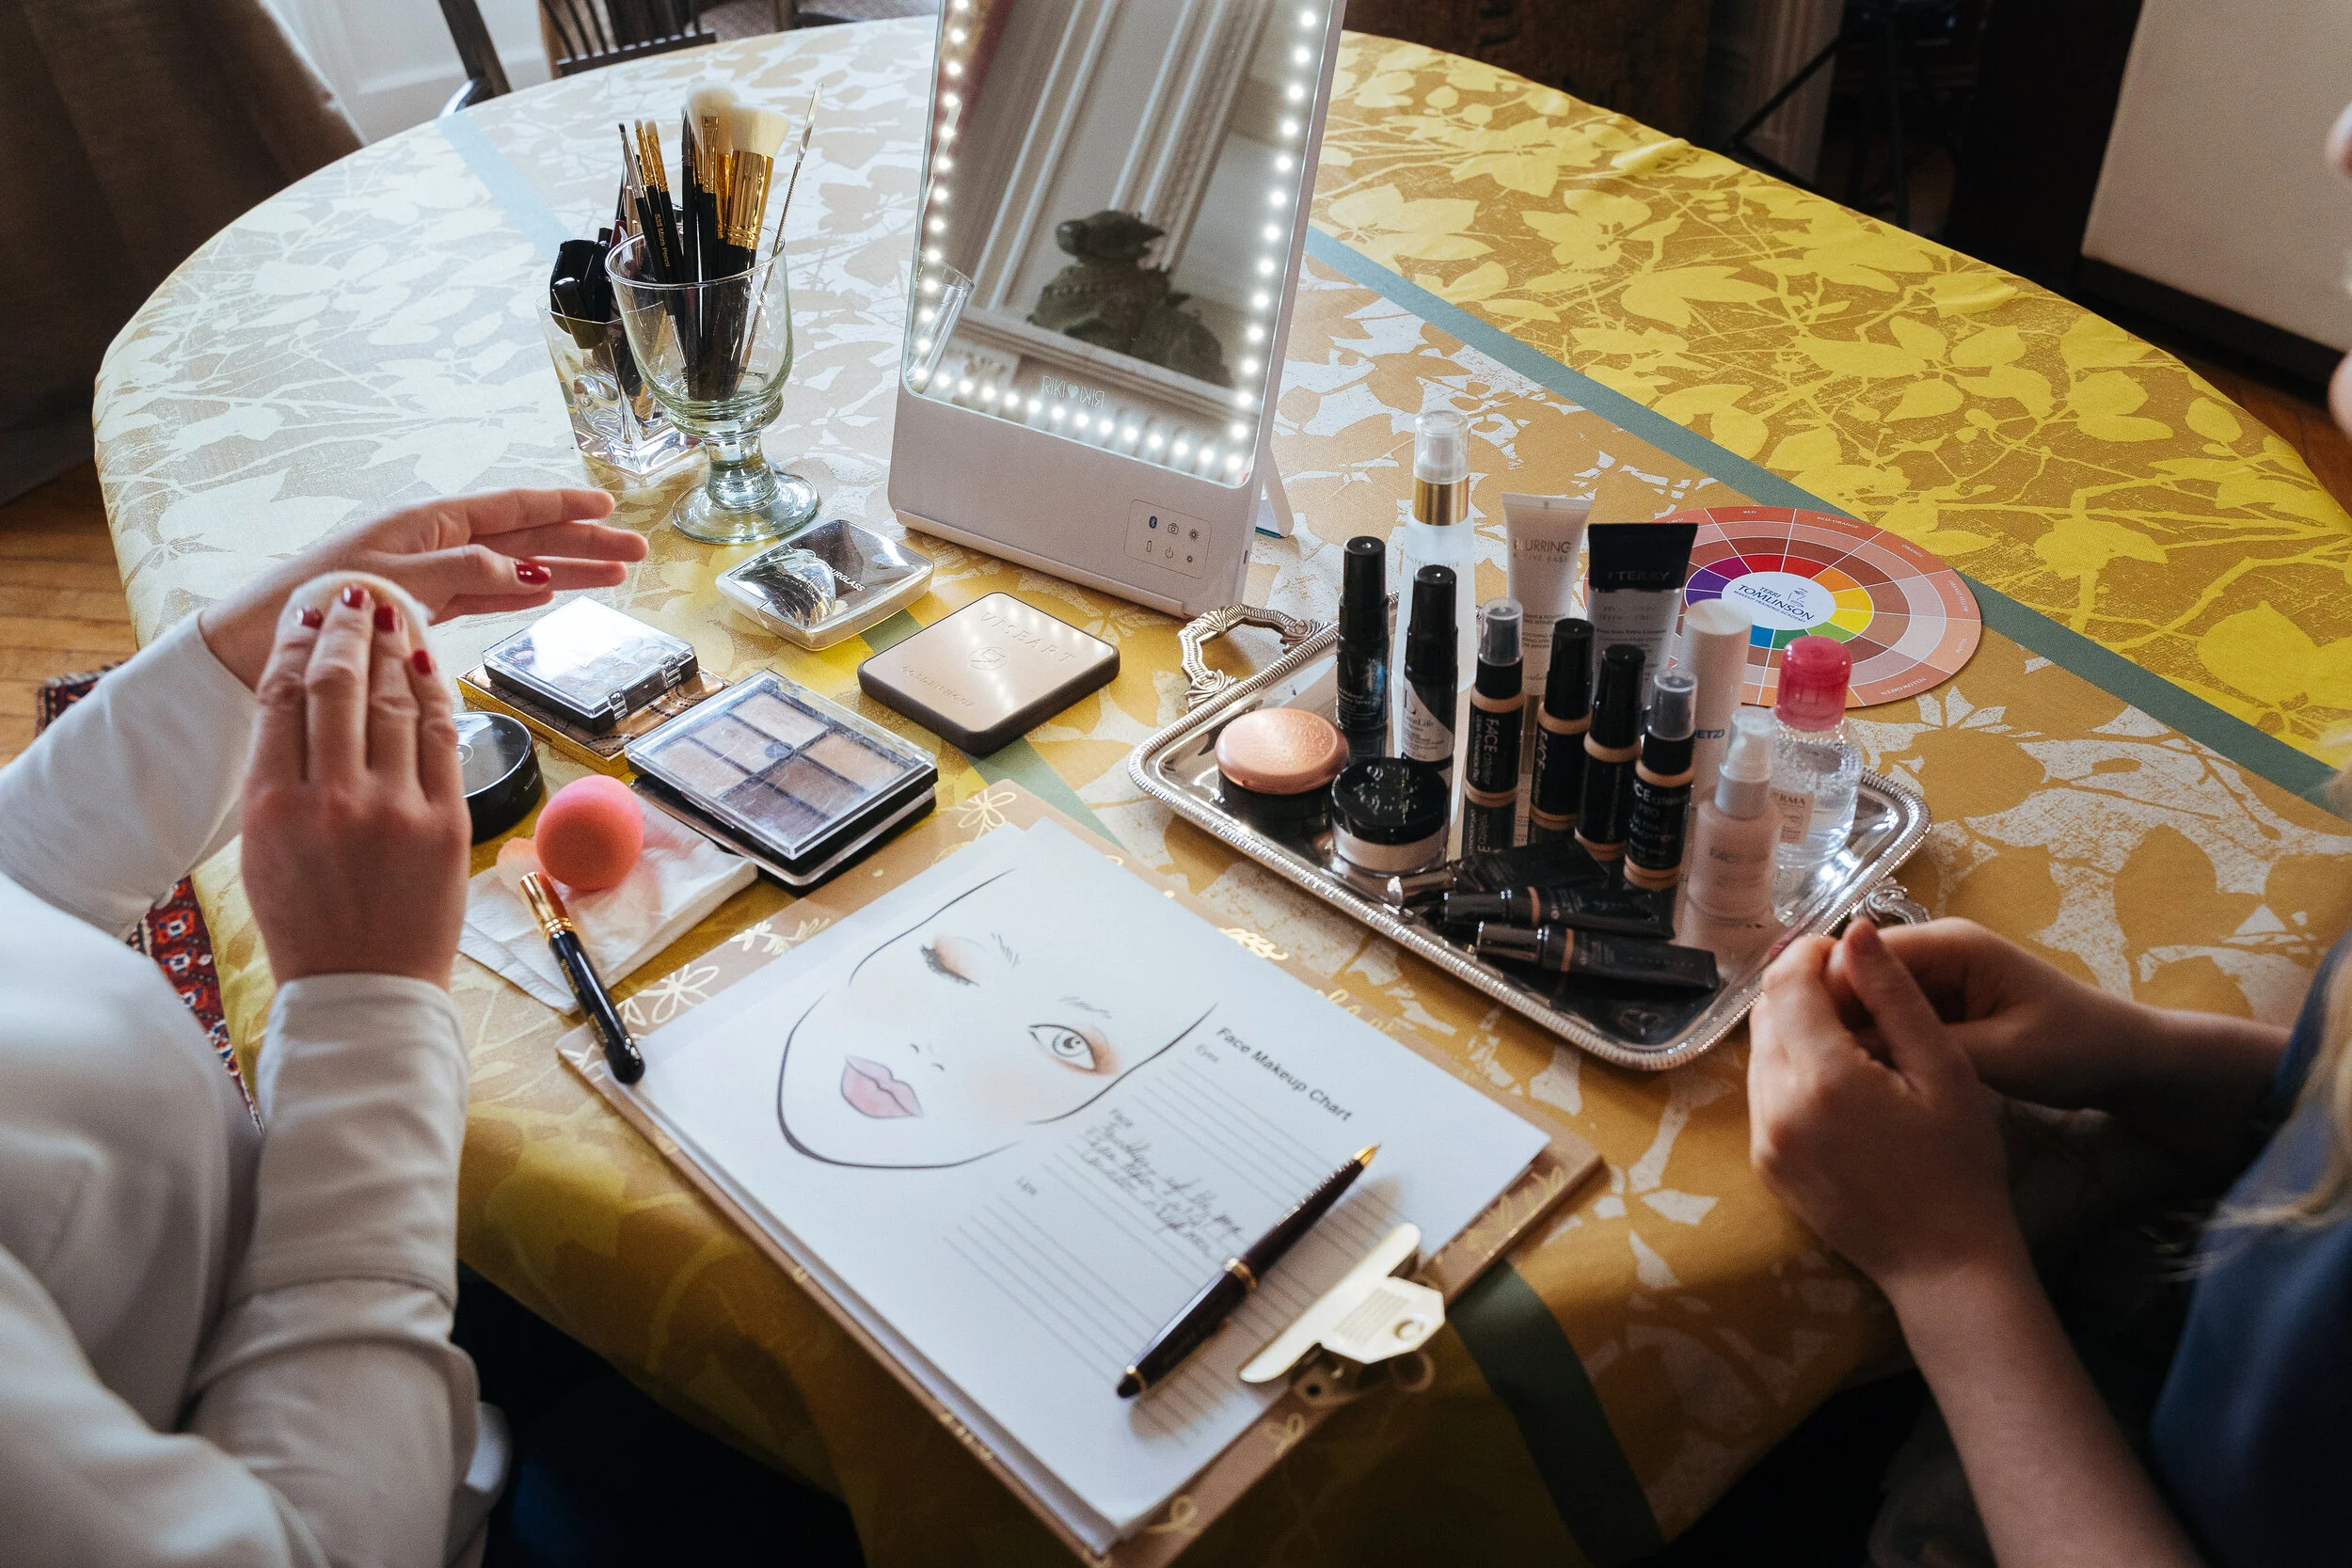
Paris Makeup Lesson Workshop: introducing my client to products to be used during her 1-on-1 makeup lesson. Photo courtesy of Gloria Villa Photography
Julie’s Makeup Lesson Plan
Before meeting Julie, I went through my professional artist kit to pre-select makeup and skincare products I knew would help her achieve her beauty goals. For her private makeup lesson, Julie wanted to learn how to define her eyes, apply foundation properly in a way that didn’t require touch-ups or emphasize dry patches on her face, and finally, to find makeup and skincare products that worked well with her combination, sensitive skin type. I broke down her full face lesson into a few easy-to-learn steps.
Julie’s Lesson plan for her 1-on-1 Paris Makeup Workshop
Step 1: Skincare Prep
Step 2: Foundation, Concealer & Blush
Step 3: Setting Powder, Contour & Highlighter
Step 4: Eyeshadow, Mascara & Brows
Step 5: Lip Pencil + Lipstick
TIP: Every Private Paris Makeup Lesson is catered to my clients needs. If you need instruction on concealing hyperpigmentation, applying evening makeup, or mastering a makeup application for mature skin, reach out to me with your beauty needs - I’m here to offer you personalized guidance.

Paris Makeup Lesson: My client, Julie, showing me her makeup bag. Photo courtesy of Gloria Villa Photography
Step 1: Skincare Prep for Makeup Application
Julie needed an eye cream + Moisturizer. proper hydration is not only crucial in keeping fine lines and wrinkles away, but it will also keep your skin balanced, happy, and even prevent breakouts.
Eye cream is an essential for moisturizing the delicate skin around the eyes, and keeping your makeup from creasing! Finding the right eye cream can take some time and energy, but once you do, your eyes will look less puffy and tired, and you won’t want to go without it.
Moisturizer is an absolute necessity for a successful makeup application, but not all moisturizers work well with makeup. For combination skin types like Julie, it can be a struggle to find the right moisturizer that hydrates your skin without causing it to look oily, but skipping it would only cause your makeup to accentuate the look of dry spots - a problem my client was eager to fix.

Paris Makeup Lesson: Patting a lightweight moisturizer, such as Water Elixir by Sonia Roselli, onto cleansed skin, is the perfect way to prep skin for a successful makeup application. Photo Courtesy of Gloria Villa Photography
For Julie’s eyes, I introduced her to the Malin & Goetz Eye cream - a go-to of mine because it it light-weight and applies smoothly. This eye-gel is great on younger skin, because it’s not too heavy and leaves just a thin a veil of moisture around the delicate eye area. This product comes in a really generous quantity too, so it will last you a while and serve your eyes well.
For Julie’s combination skin, I showed her the Sonia Roselli Water Elixir. This product is my go-to for just about anyone. Water Elixir was pioneered by makeup artist Sonia Roselli to be lightweight and easily absorbed by the skin, leaving it hydrated and ready for makeup. Whether your skin is dehydrated, dry, normal, combination or oily, this product will work for you. And if you need more hydration, she’s got some other amazing products that can be layered over the top! See more products here.
For Primer, after products were absorbed into the skin, I showed her how to properly apply a thin veil of two different primers: ByTerry Hydrating Hyaluronic Hydra-Primer and Guerlain’s Smoothing Primer (product discontinued).Water ElixirSee more products here.
TIP: Proper skincare for your skin type and makeup products that work well with your skin will allow your makeup to last longer and help your skin in the long run. Take a look at my 2020 Glow for Good Product Guide.
Step 2: Foundation, Concealer & Blush
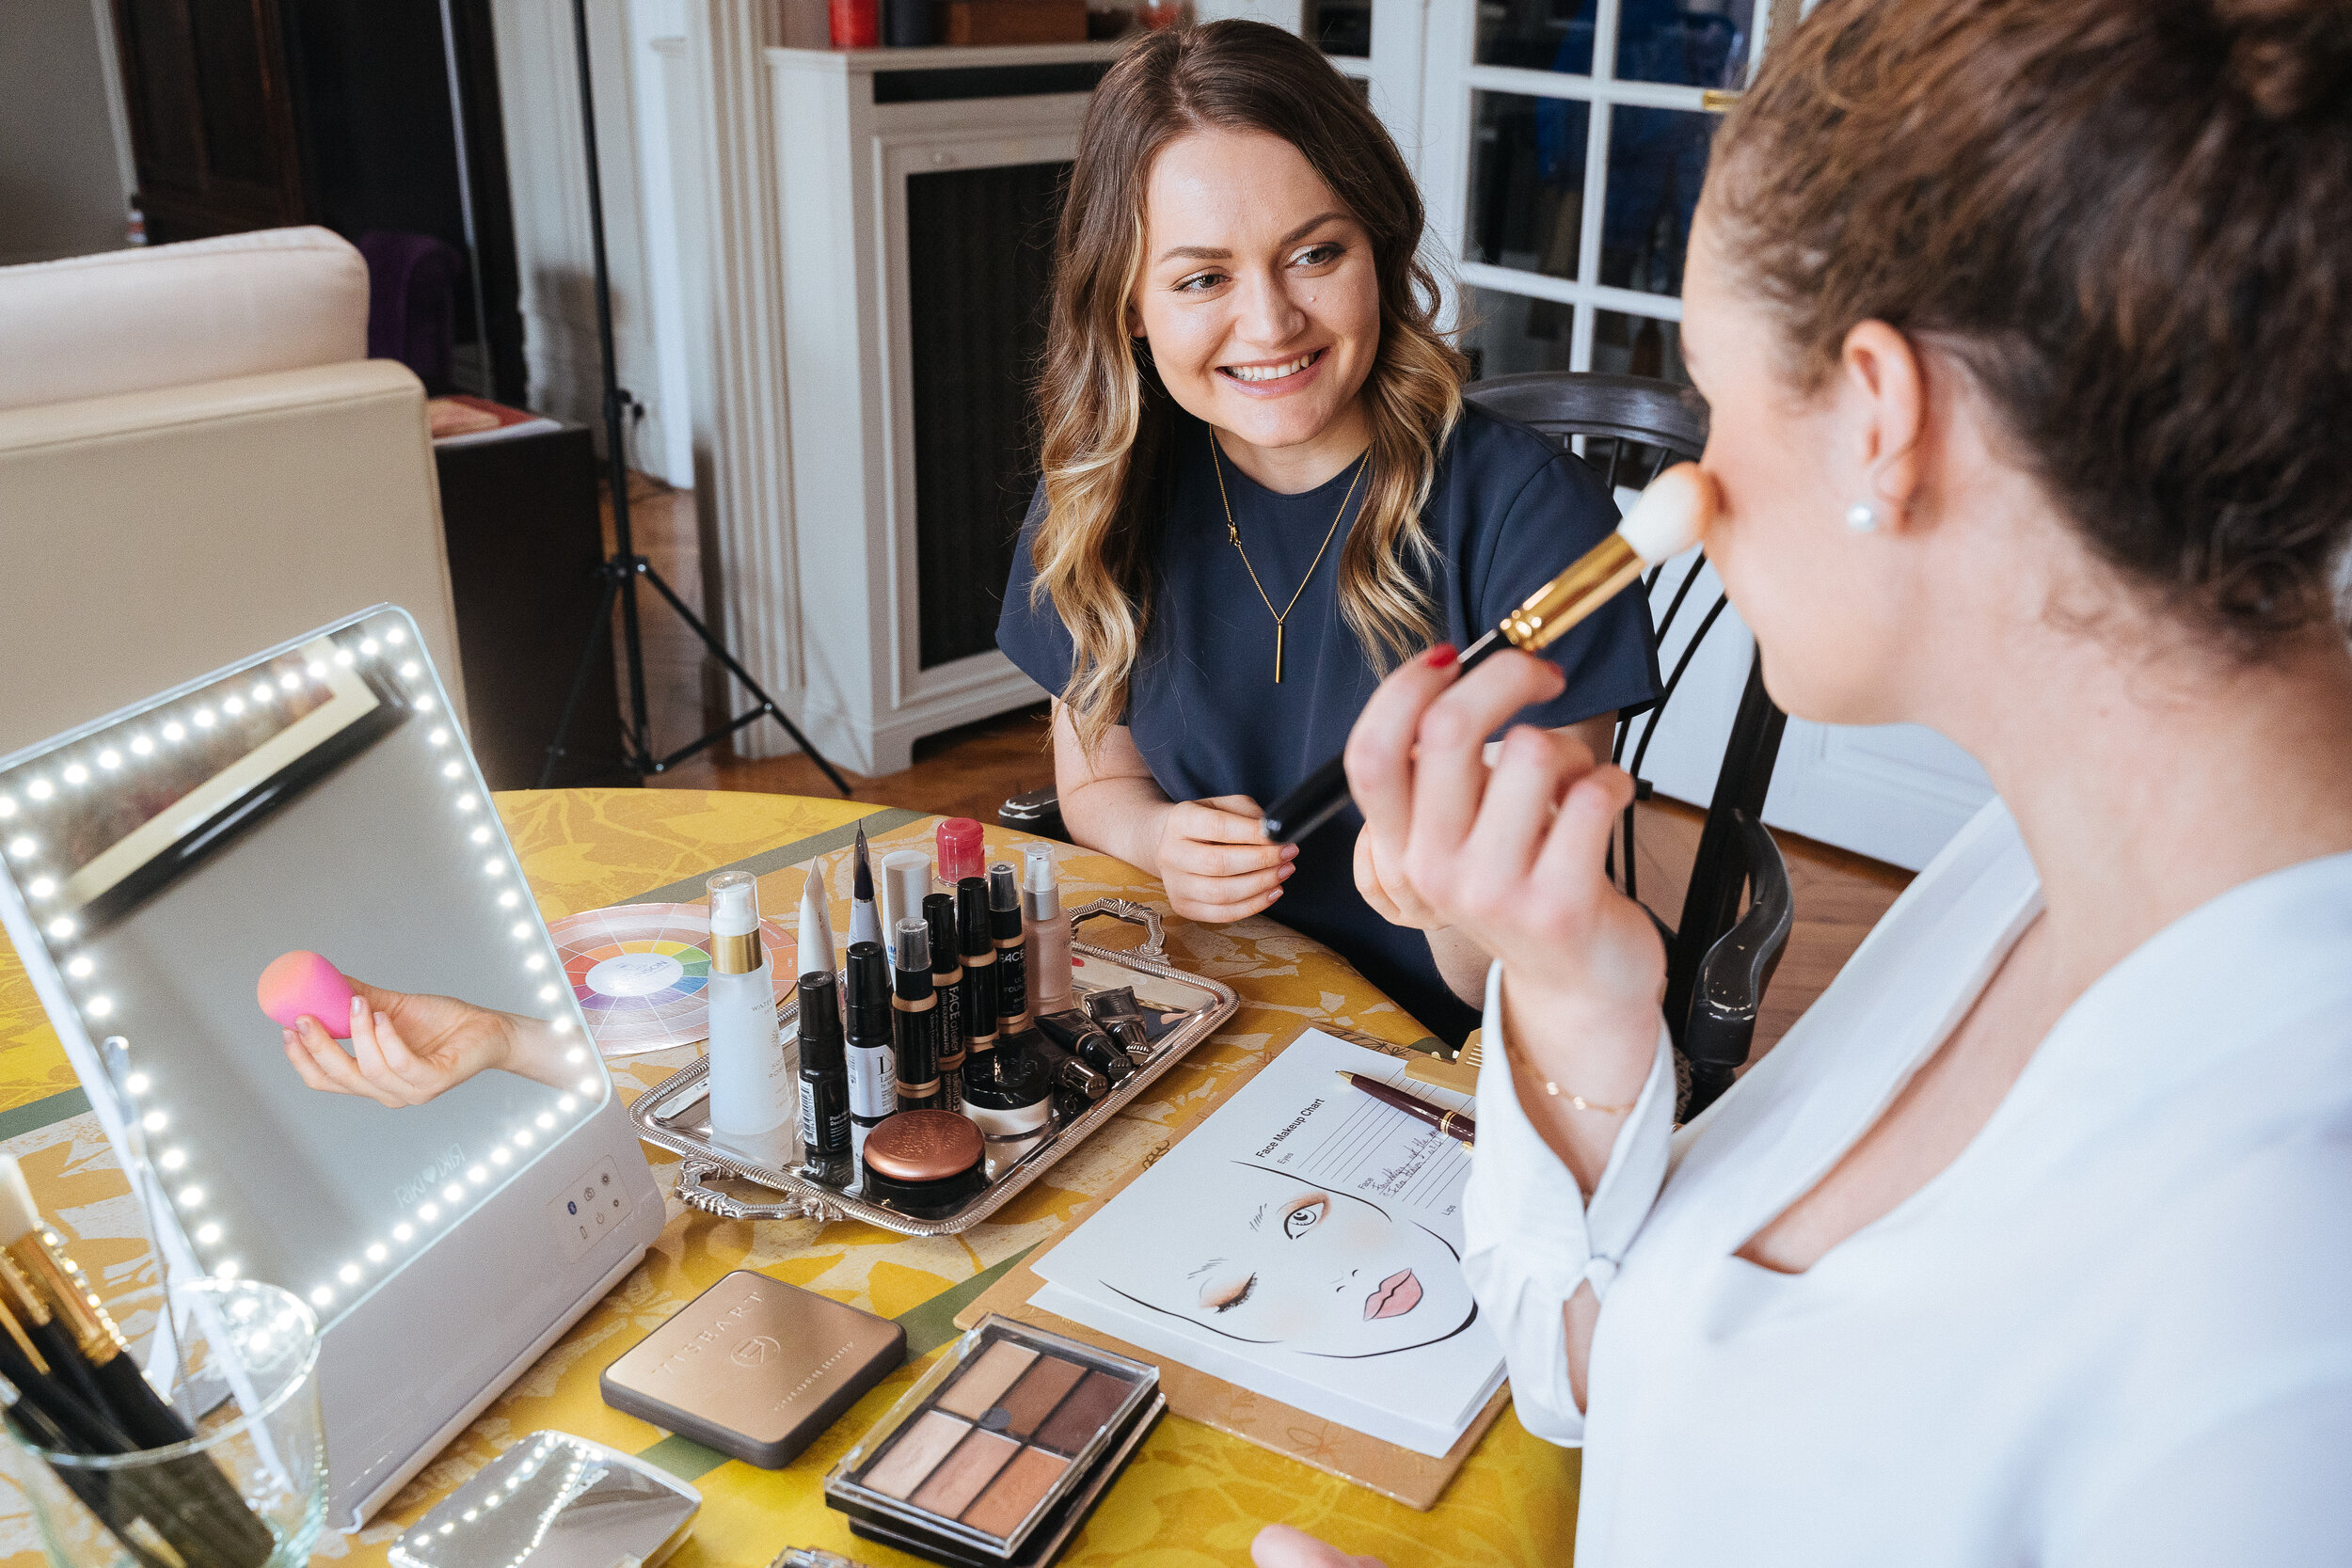
Paris Makeup Lesson: Learning how to apply foundation using brushes, fingertips, and face sponges. Photo Courtesy of Gloria Villa Photography
Once Julie’s skin prep was complete, It was time to learn how to apply foundation, concealer, and blush.
Since Julie was a makeup beginner, I taught her how to apply foundation through various techniques, such as sponges, brushes, and fingertips. Sponges are a great tool for beginners, but they need to be washed regularly or replaced each time. We used Face Atelier Foundation - its clean ingredients and super pigmented formula allows for great coverage, even when applied sparingly.
Then we moved onto how to apply cream blush using Stila Cream Blush in ‘Peony’ - a gorgeous color for Julie’s complexion! Cream blush is a great product for achieving that ‘flushed-from-within’ look. When applied in the right places, blush will give your face a visual lift and a youthful glow. When incorrectly placed, blush will make your face look older and more droopy.
TIP: As we age, blush placement needs to adjusted to compensate for sagging skin. If you’re over the age of 20, smiling and applying blush to the apples of your cheek will no longer give you the results you are looking for and this is not a technique I recommend using when applying your blush.
Step 3: Setting Powder, Contour & Highlighter
Once we finished blush, I taught Julie how to set her makeup properly before moving on to powder products and eye makeup.
For Julie’s customized Makeup Lesson, I showed her where to strategically place setting powder, and how to use setting spray. We used KVD (Formerly Kat Von D) Setting Powder - this is a product that is finely milled, a little goes a long way, and it doesn’t cause flashback in photos.
For combination skin, using too much powder, the wrong type of powder, or powdering the wrong areas will bring out textures and increase the look of dry patches. One reason Julie had so many issues before is because she was using full-coverage powder all over her face, which was drying out her skin and emphasizing her texture. This, coupled with improper use of skincare, is the reason why Julie found her face makeup application frustrating.
Next, we used shimmery powder blushes from Hourglass Cosmetics. Julie learned what brush to use and where to place this blush on her cheeks, and since we were using powder highlighter, this gave her skin a glow without appearing shiny or oily!
TIP: Setting powder will not only keep your makeup from moving, but doing so before powder blush will help you blend your product better.

Paris Makeup Workshop: Finely milled highlighting powder, such as Hourglass Blush, will result in a natural radiating look. Photo Courtesy of Gloria Villa Photography

Paris 1-on-1 Makeup Lesson: Layering shimmery powder blush over cream blush will give you the perfect ‘glow-from-within’ look! Photo Courtesy of Gloria Villa Photography
Step 4: Eyeshadow, Mascara & Brows
Julie was a true makeup beginner and needed to learn how to do a complete eye makeup look.
For this step, I applied makeup to one side of Julie’s face, one step at a time, so she could visualize and feel how and where each shade is supposed to be applied. Knowing proper eye shadow placement will help her be much faster at applying her own makeup in the future.
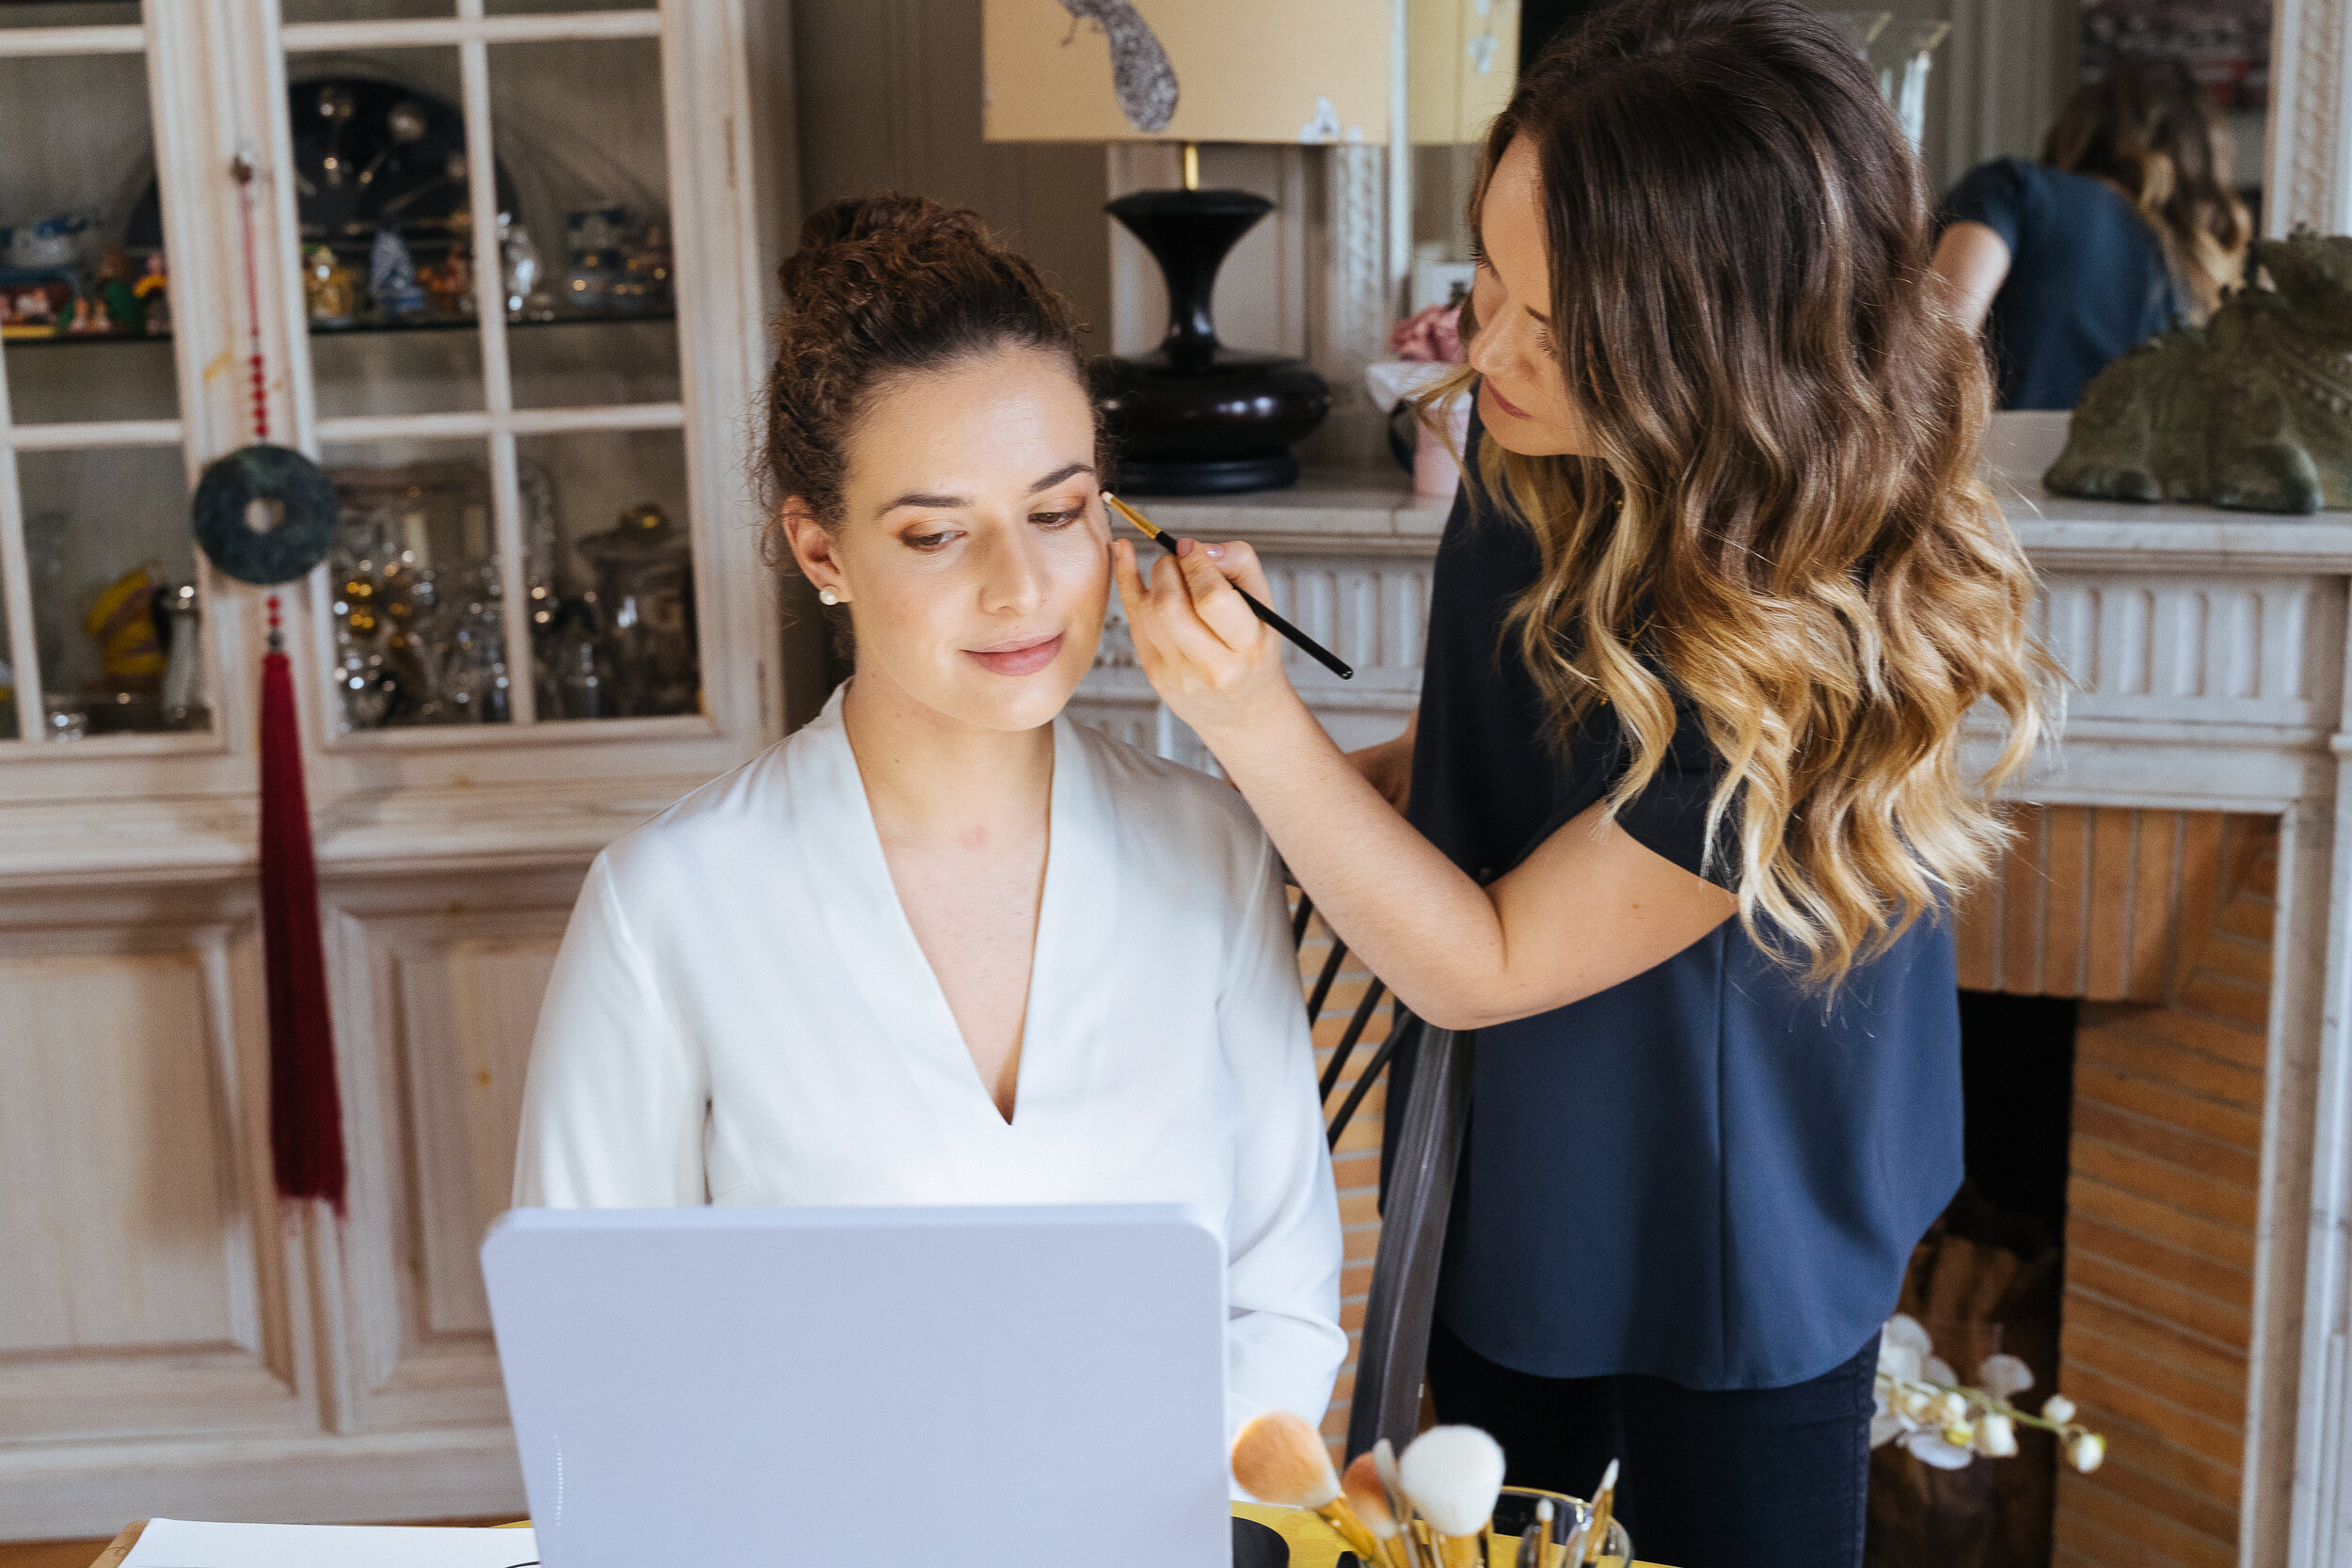
Mastering Her Eye Makeup: Demonstrating where to place eye shadow and how to blend it correctly. Photo Courtesy of Gloria Villa Photography

Private Makeup Lessons in Paris: Eyebrows are unique to each student, so I adapt the techniques I teach to each client’s needs. Photo Courtesy of Gloria Villa Photography
For Julie’s eye makeup part of the lesson, I taught her how to do 3 color eyeshadow look using matte shades from Viseart Paris. Since she wanted a soft defined look, we used earth toned, warm mattes in 3 tones. This accentuated her eyes, and I even showed her how to dress down this style for an effortless day-to-day look.
Julie’s brows are already pretty full, so I demonstrated her how to use an eyebrow pencil with light strokes to fill in sparse areas in a way that looks natural. Once we perfected her arch, we applied eyebrow gel to keep them in place.
TIP: To clean up the edges of eyeliner and eyeshadow, first remove excess product with a cotton bud, then pat on some concealer using fingertips or a brush for more precision.
Step 5: Lip Pencil + Lipstick
Finally, it was time for the finishing touches, lipstick! Using an Esum Cosmetics Lip Pencil in a shade that would work with her complexion, I taught Julie how to achieve a crisp, bold lip line that accentuated her lip shape.
Then we played with a couple of traditional lipstick options, followed by a deeper liquid lipstick from Milk Makeup, in a medium-deep shade, over the top. Her full lips look gorgeous with bolder colors, and she loves a matte finish, so this combination was perfect for her!
We set her face with Skindinavia Setting Spray, for extra long-lasting wear for her makeup. This gave her skin one last soft glow, and her face beamed with excitement — “I can’t believe I did it all on my own!” - she exclaimed with enthusiasm, and I can join in on the excitement because her look is stunning and suits her so well!

Paris Private Makeup Lesson: Finding he perfect match for Julie’s lip color during her 1-on-1 Paris makeup lesson. Photo Courtesy of Gloria Villa Photography
TIP: To clean up edges of your lipstick, do not use makeup remover, instead remove excess product with a cotton bud, followed by a light layer of concealer.
The Final Look
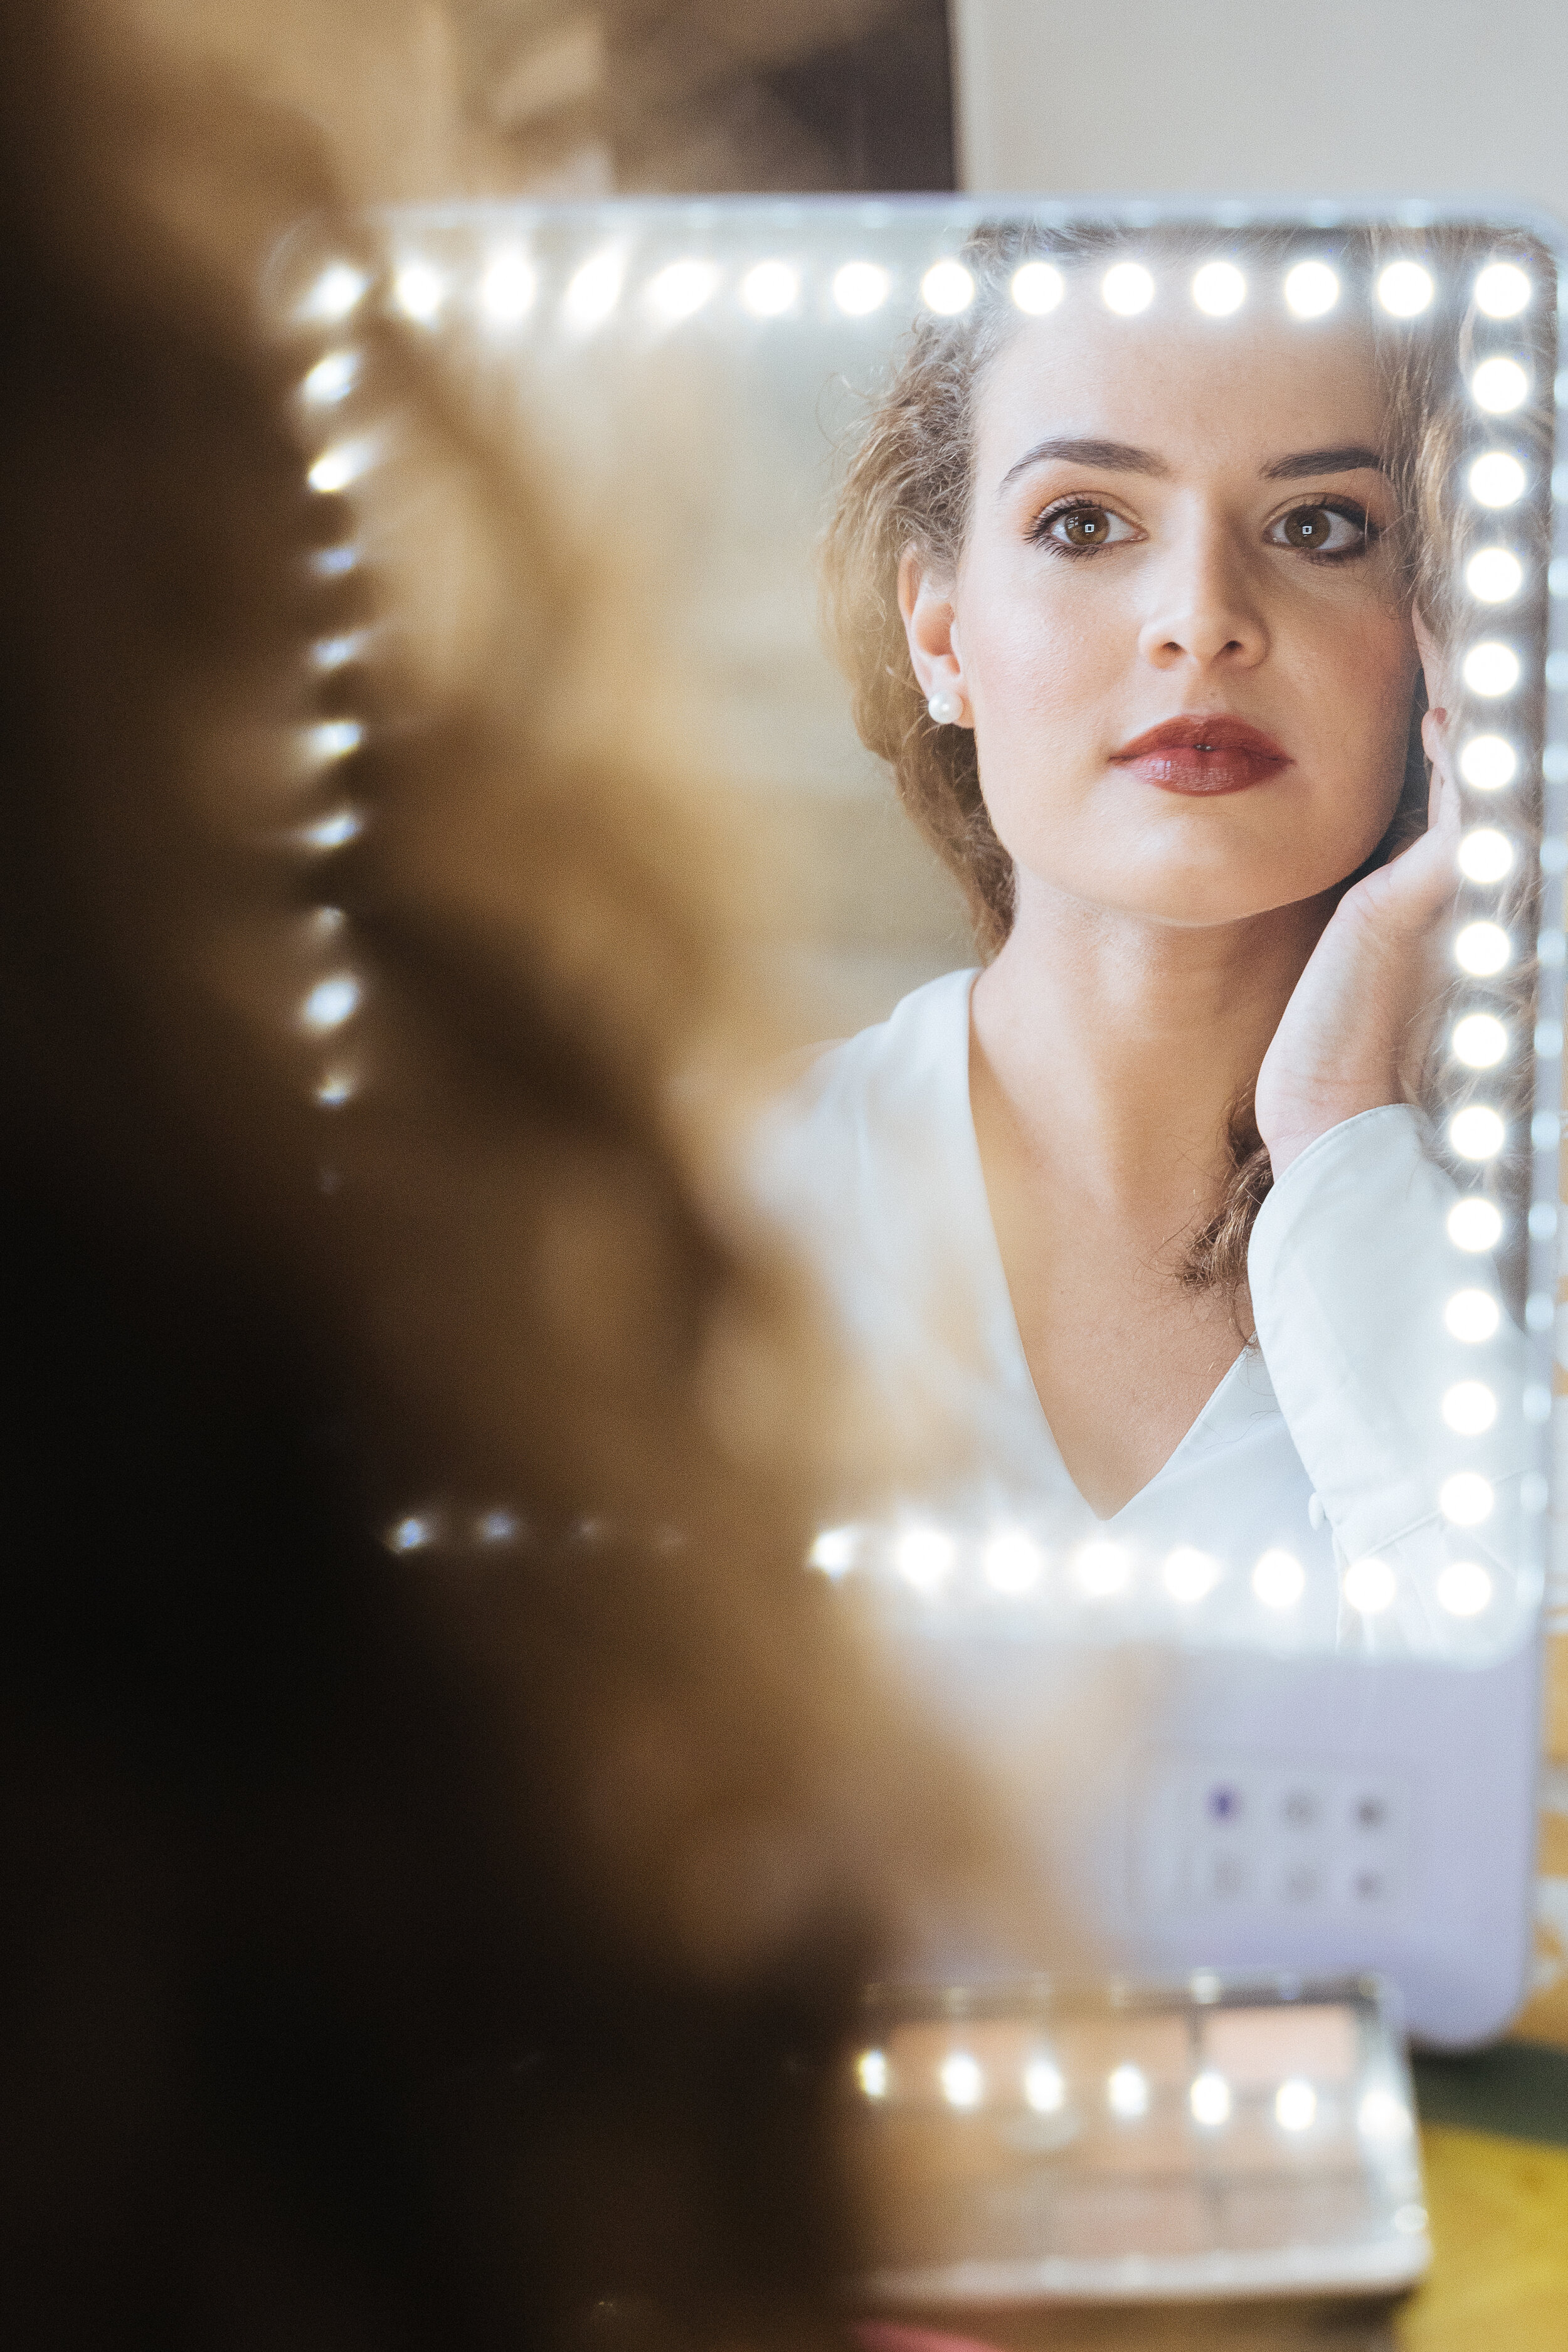
The end result of Julie's 1-on-1 Personalized Paris Makeup Lesson. Photo Courtesy of Gloria Villa Photography
At the end of her lesson, Julie took lots of selfies, and we went over her class notes to make sure no information was missing.
If you’re someone like Julie, who is looking to learn makeup from a professional makeup artist, don’t hesitate to reach out! Whether you live in Paris, New York, or anywhere else in the world, I can teach you everything there is to know about your perfect makeup look. I offer in-person Paris Makeup Workshops, Online Makeup Lessons, as well as DIY Online Makeup Courses, a new series of step-by-step videos that will teach you professional makeup application techniques. No matter your beauty needs, there’s an option for you, so Get In Touch and let’s chat all things beauty.

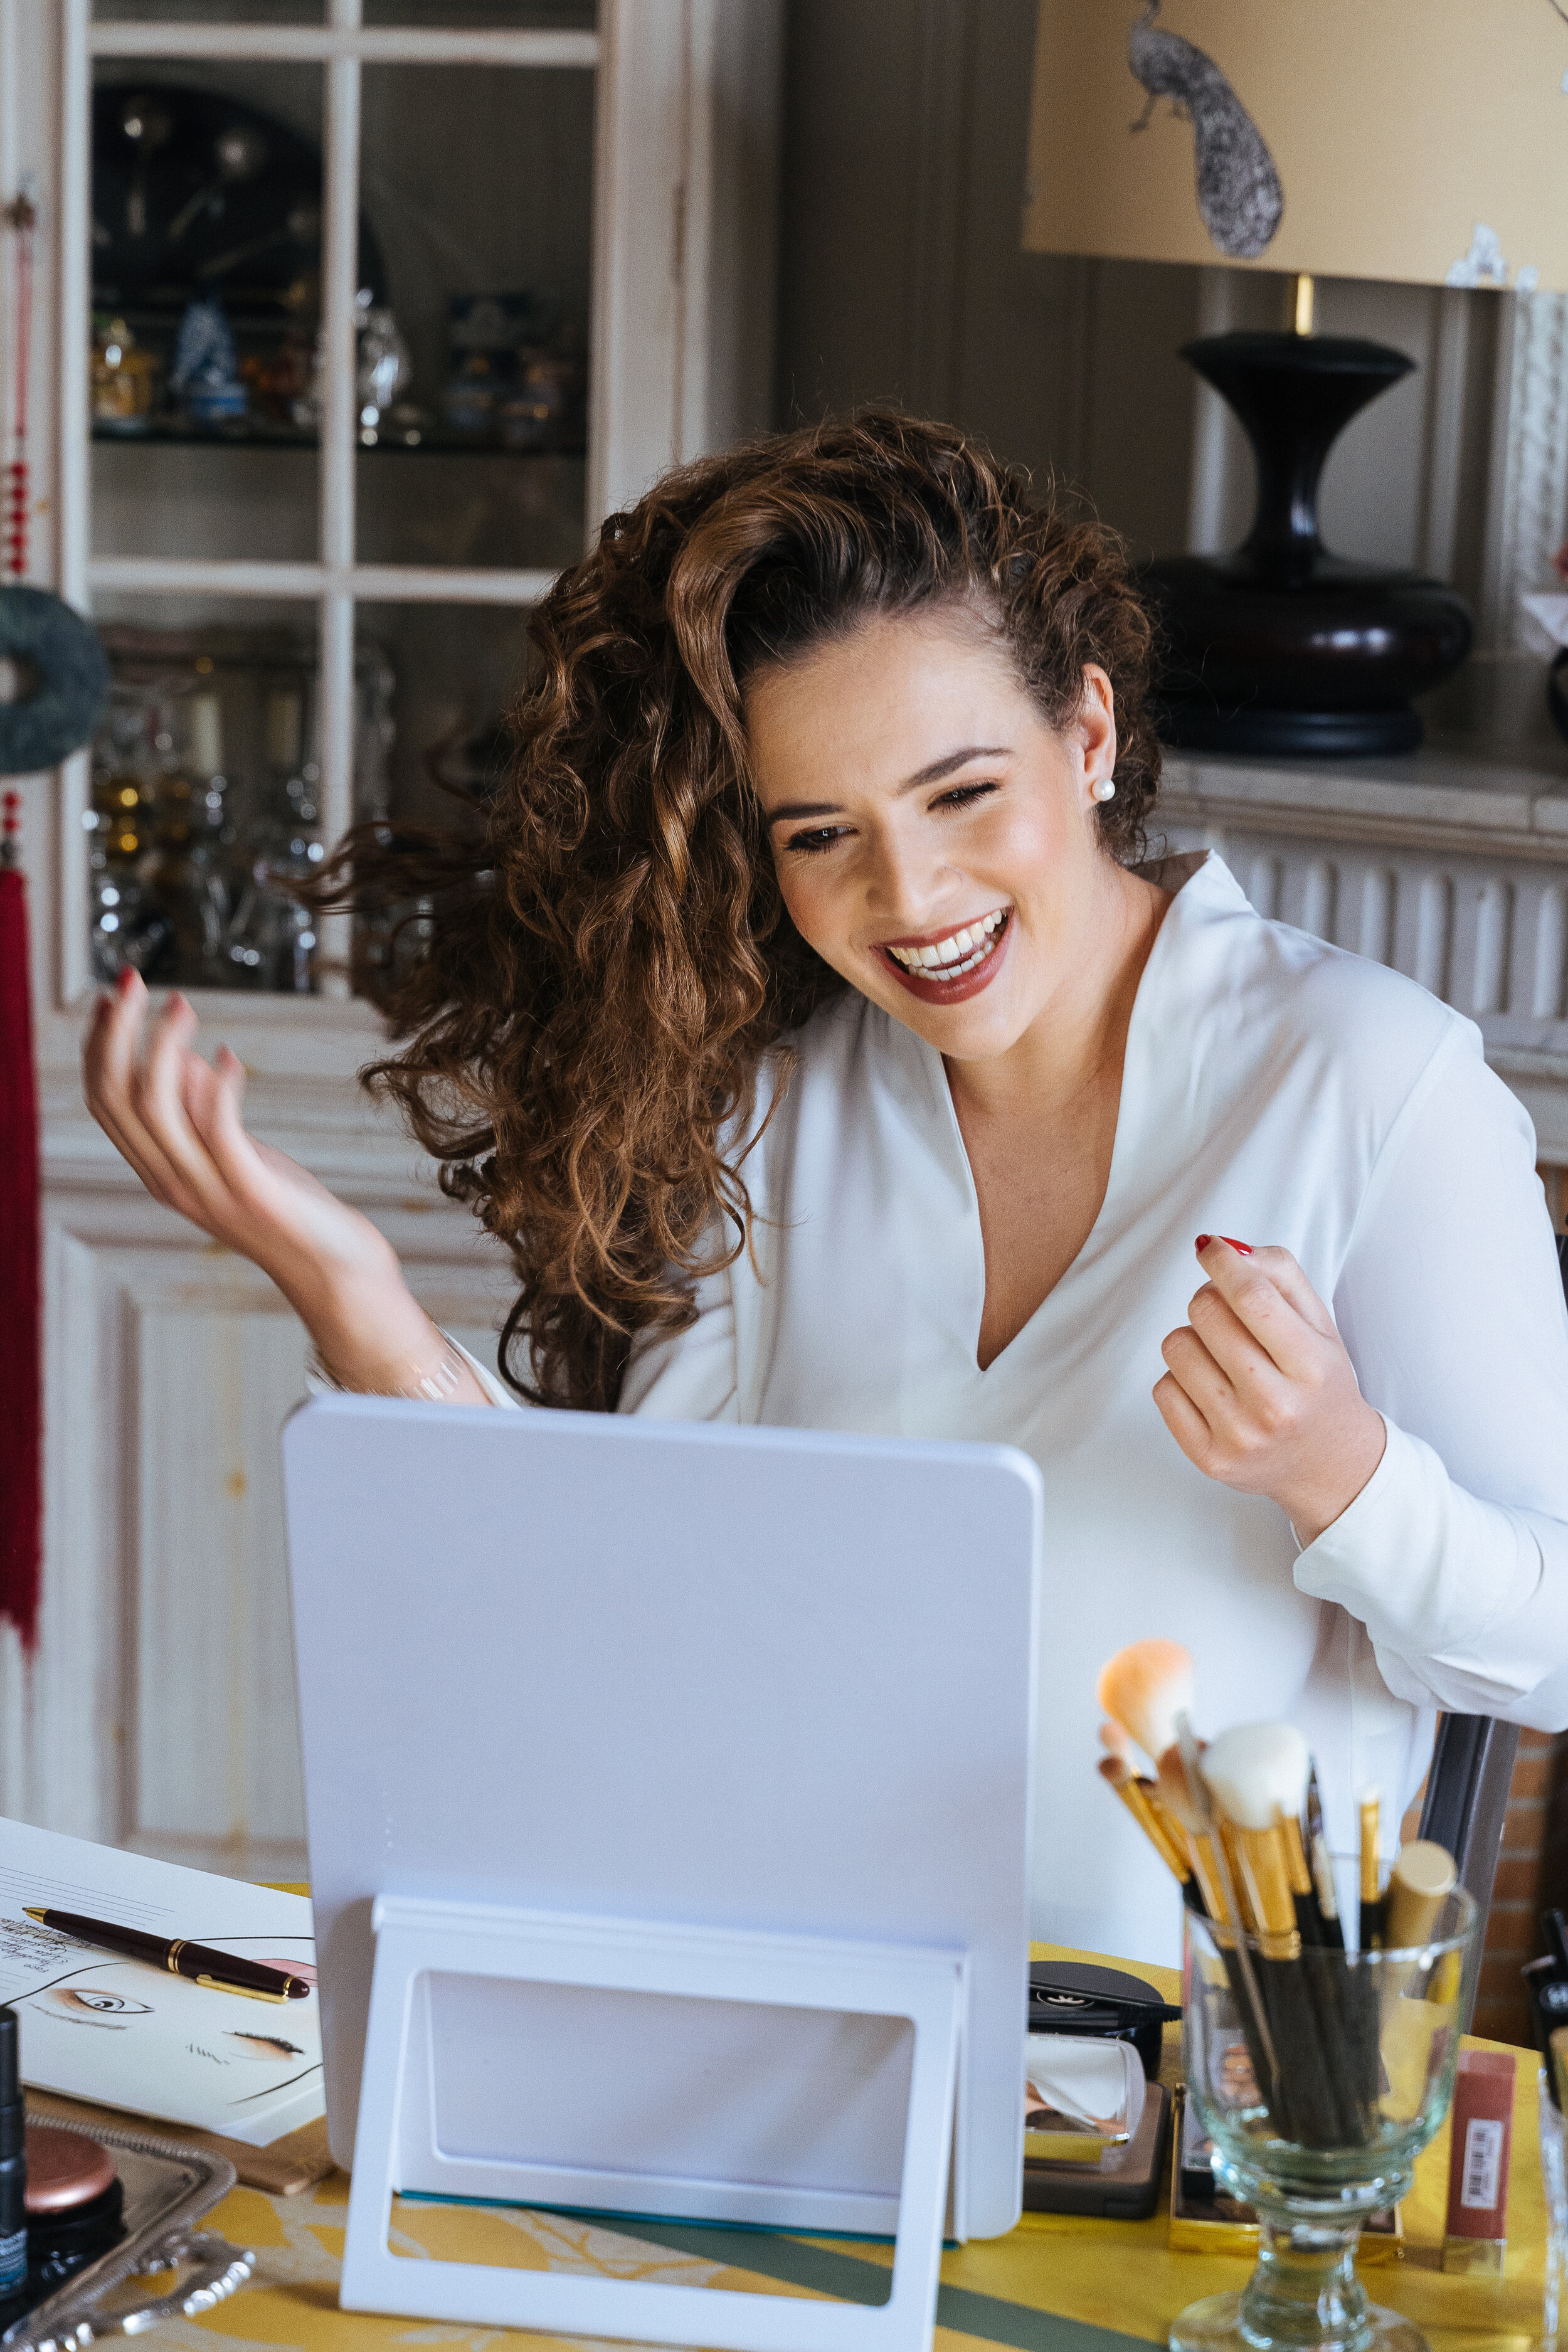
Paris Makeup Workshop: Nonstop checking yourself out in a mirror is a common side-effect of my 1-on-1 makeup lesson clients! Photo courtesy of Gloria Villa Photography

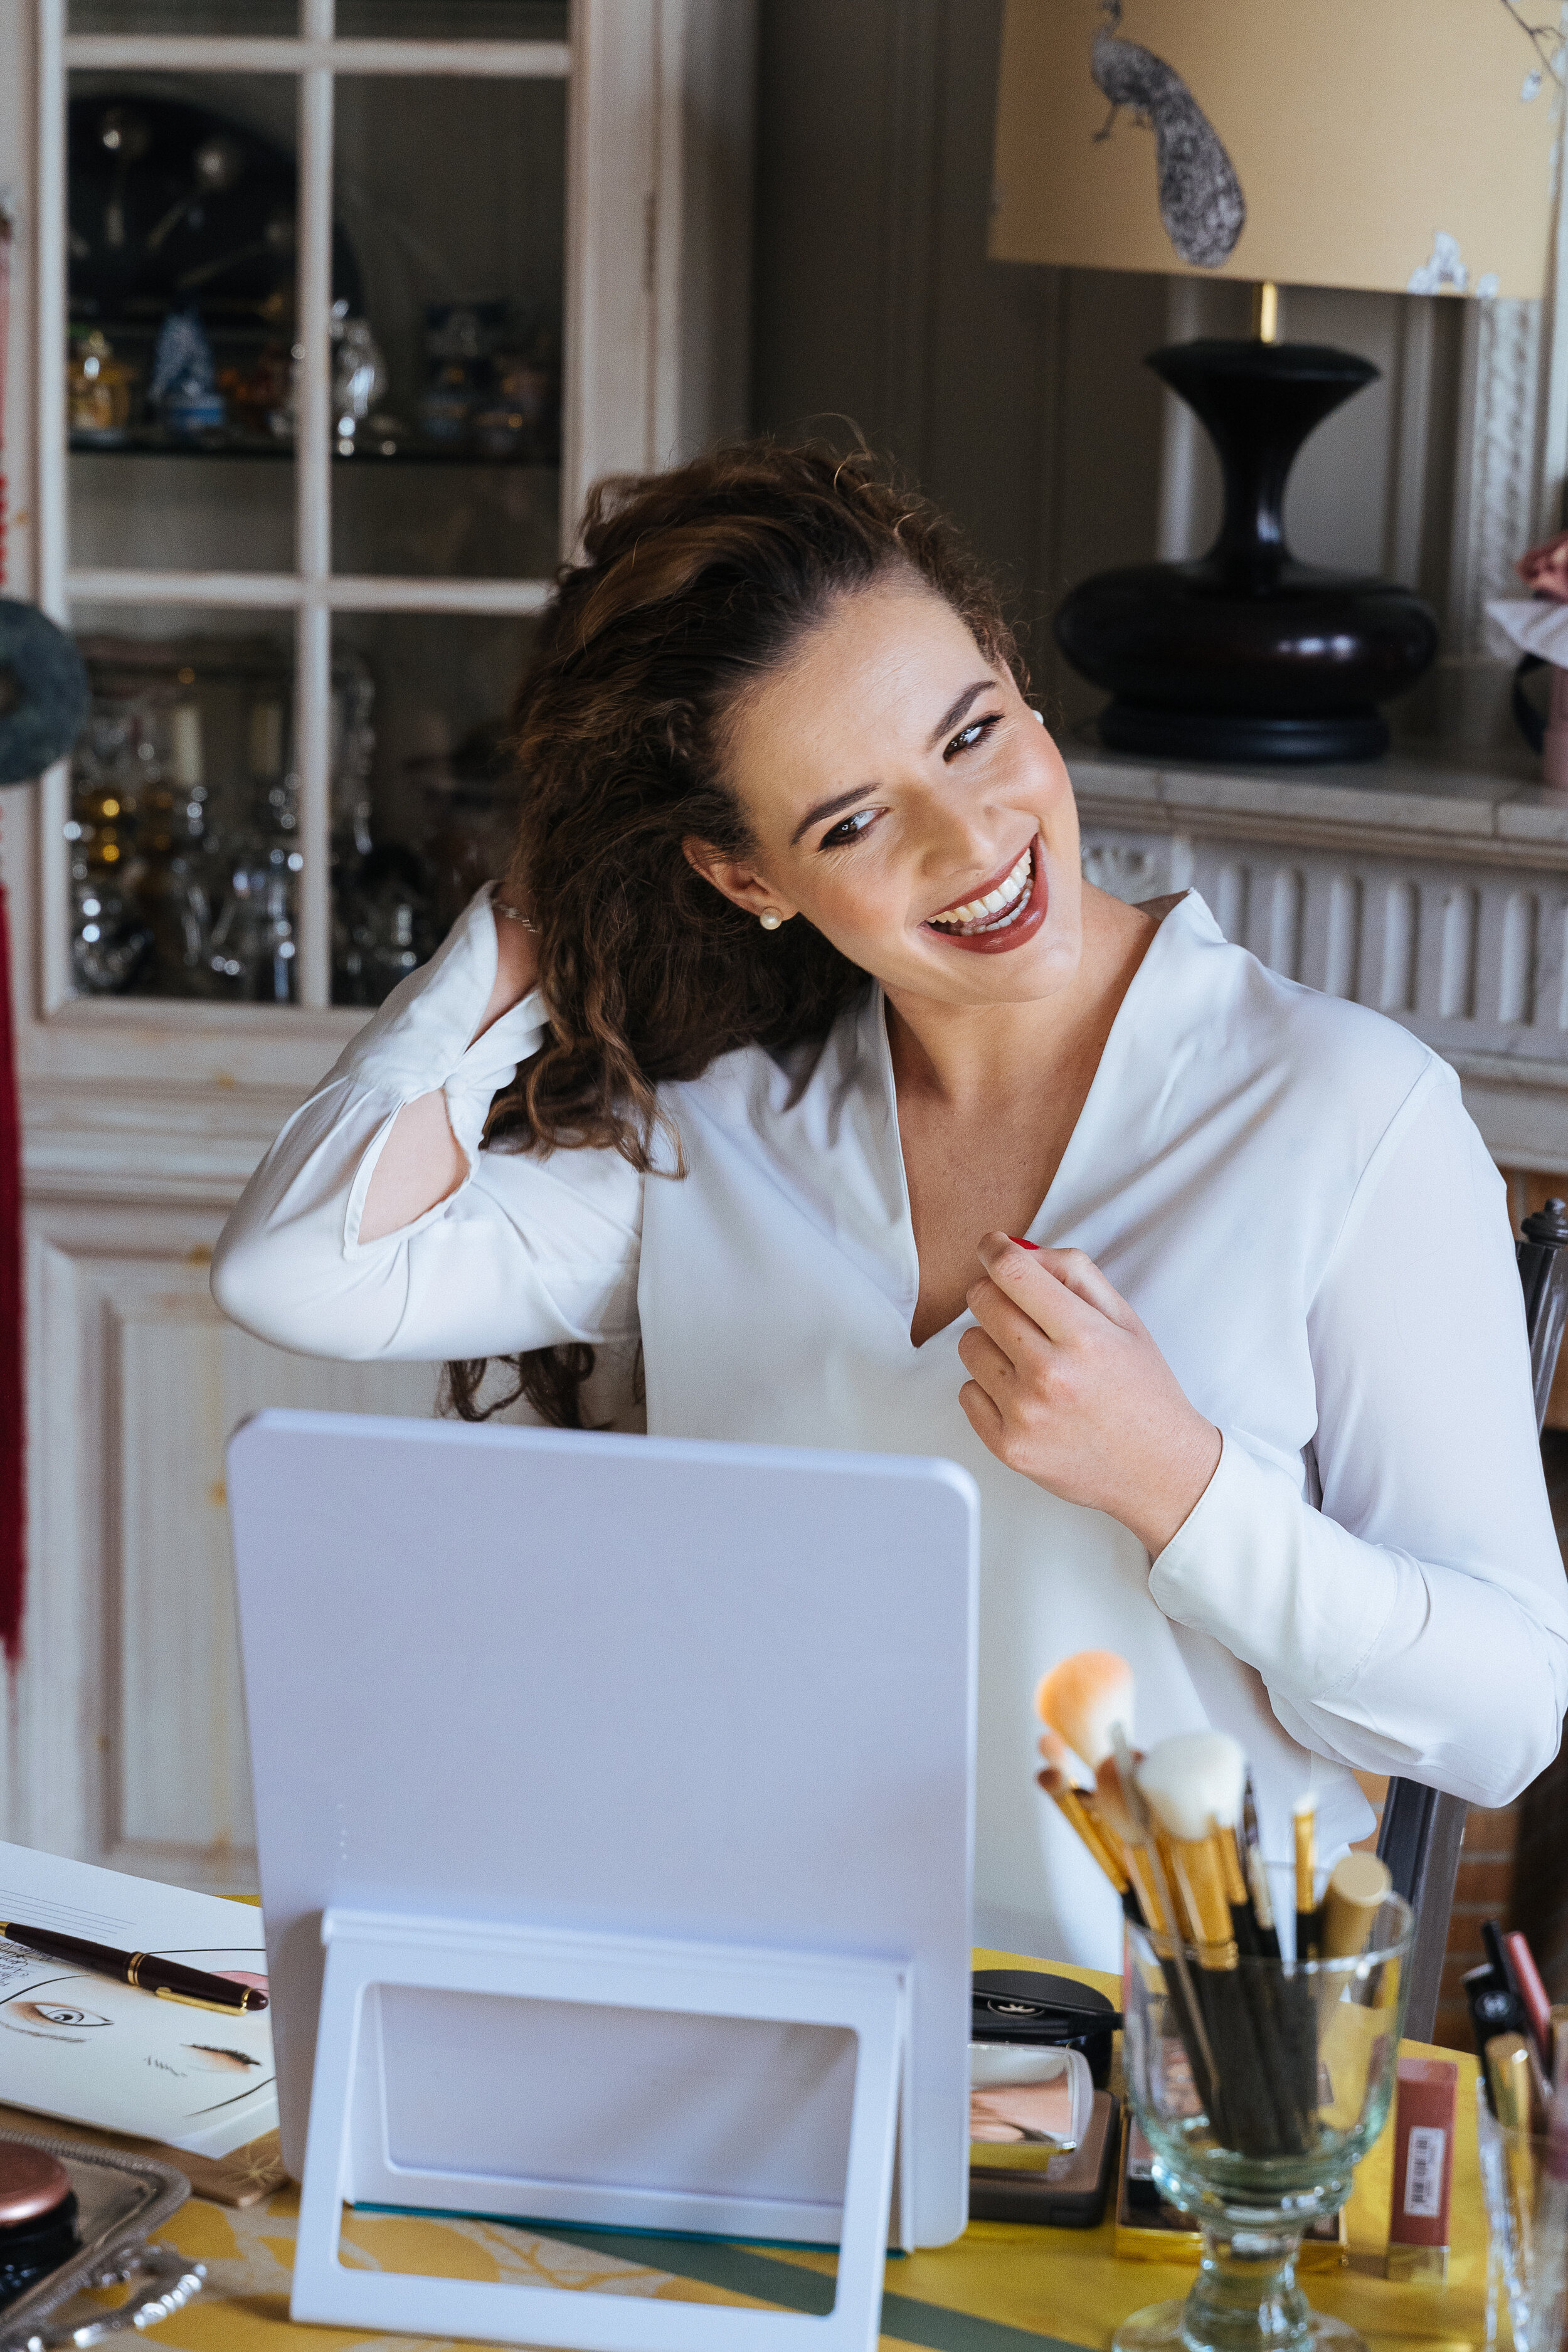
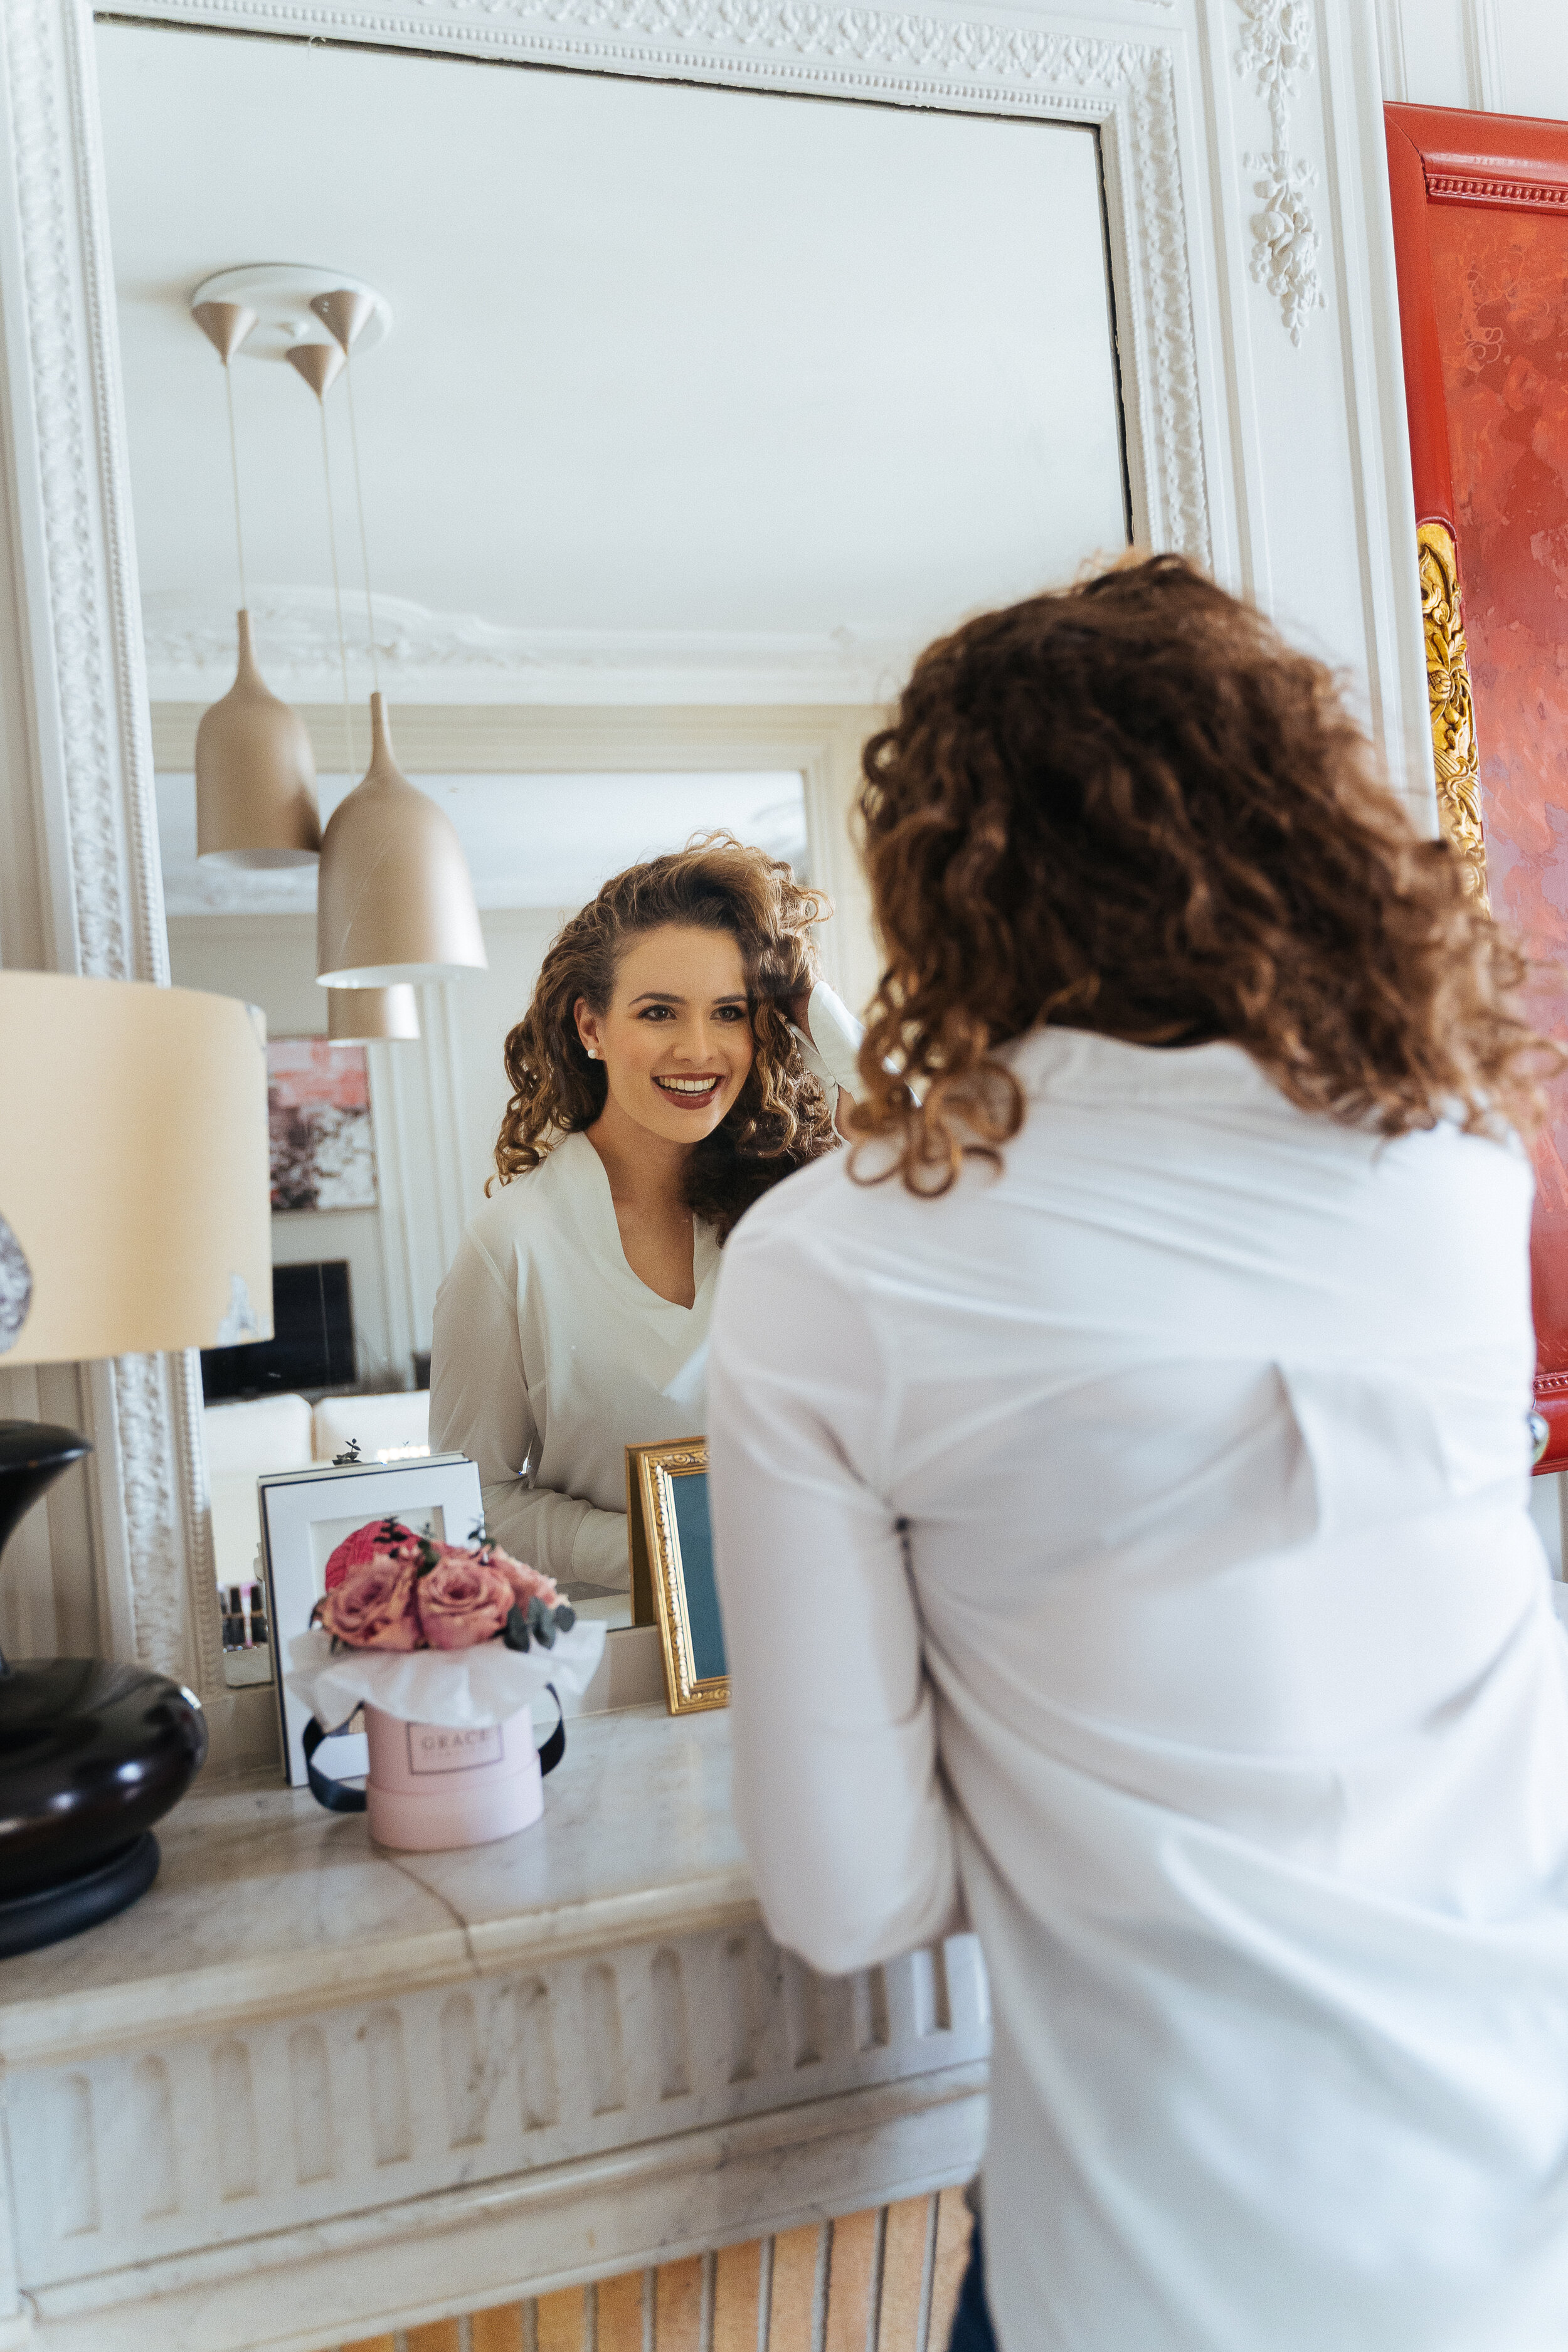
Paris Makeup Workshop: Julie’s final result from her personalized, 1-on-1, Paris Makeup Lesson! Photo courtesy of Gloria Villa Photography
FEATURED
Makeup Instructor - Onorina Jomir Beauty
Photography - Gloria Villa Photography
TOOLS
Makeup Mirror - Glamcor Riki Slim Mirror
Makeup Sponge - Beauty Blender
Makeup Brushes - The Kit Stars
Skincare / Skin Prep
Face Primer - By Terry Hyaluronic Hydra-Primer
Face Primer - Guerlain Smoothing Primer
Moisturizer - Sonia Roselli Water Elixir
Setting Spray - Skindinavia Setting Spray
Makeup Remover - Bioderma Micellar Water
Eye Cream - Malin & Goetz Eye Cream
Makeup
Foundation - Face Atelier Foundation
Cream Blush - Stila Cream Blush
Setting Powder - Kat Von D Setting Powder
Shimmer Powder Blush - Hourglass
Eye Shadow - Viseart Eye Shadows
Liquid Lipstick - Milk Makeup Liquid Lipstick
Lip Palette - By Terry Lipsticks
Lip Pencil - ESUM CosmeticsStila Cream BlushBy Terry LipsticksMilk Makeup Liquid LipstickViseart Eye ShadowsHourglass Kat Von D Setting PowderStila Cream BlushFace Atelier FoundationMalin & Goetz Eye CreamBioderma Micellar WaterSkindinavia Setting SpraySonia Roselli Water ElixirBy Terry Hyaluronic Hydra-PrimerBy Terry Hyaluronic Hydra-PrimerThe Kit StarsBeauty Blender Glamcor Riki Slim MirrorGloria Villa PhotographyOnorina Jomir Beauty